tomnic
-
Posts
1,137 -
Joined
-
Last visited
-
Days Won
51
Content Type
Profiles
Forums
Events
Downloads
Everything posted by tomnic
-
Abbandonate le GPU discrete, le ultime a funzionare sono le 6950XT tramite spoof, e sarà per sempre cosi'!!!
-
Porta tutte le patch che applicavi fino a 24.99.99 a 25.99.99 tranne quella di CaseySJ sul bus PCIe, attento che e' proprio diversa e la devi aggiungere: <dict> <key>Arch</key> <string>x86_64</string> <key>Base</key> <string>__ZN11IOPCIBridge13probeBusGatedEP14probeBusParams</string> <key>Comment</key> <string>CaseySJ | probeBusGated | Disable 10 bit tags | 26.0+</string> <key>Count</key> <integer>1</integer> <key>Enabled</key> <true/> <key>Find</key> <data>4BFzQA==</data> <key>Identifier</key> <string>com.apple.iokit.IOPCIFamily</string> <key>Limit</key> <integer>0</integer> <key>Mask</key> <data>8P//8A==</data> <key>MaxKernel</key> <string>25.99.99</string> <key>MinKernel</key> <string>25.0.0</string> <key>Replace</key> <data>AAACAA==</data> <key>ReplaceMask</key> <data>AAAPAA==</data> <key>Skip</key> <integer>0</integer> </dict> Aggiorna OpenCore almeno a 1.0.5 final e aggiorna tutti i kext. Disattiva la connessione internet / l'account Apple prima di riavviare per l'aggiornamento altrimenti ti attivera' FileVault, poi e' rognosetto disattivarlo.
-
Beh allora c'è qualcosa di problematico a livello hardware temo, prendi un ssd sata installa lì e vedi cosa rilevi
-
Che non lo veda proprio è strano, che non sia compatibile e panichi può capitare, prova a cambiare slot se possibile intanto.
-
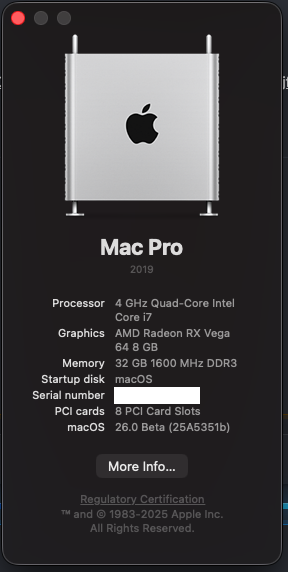
E' l'ennesima Golden spacciata per definitiva? Apple non cambi mai!
-
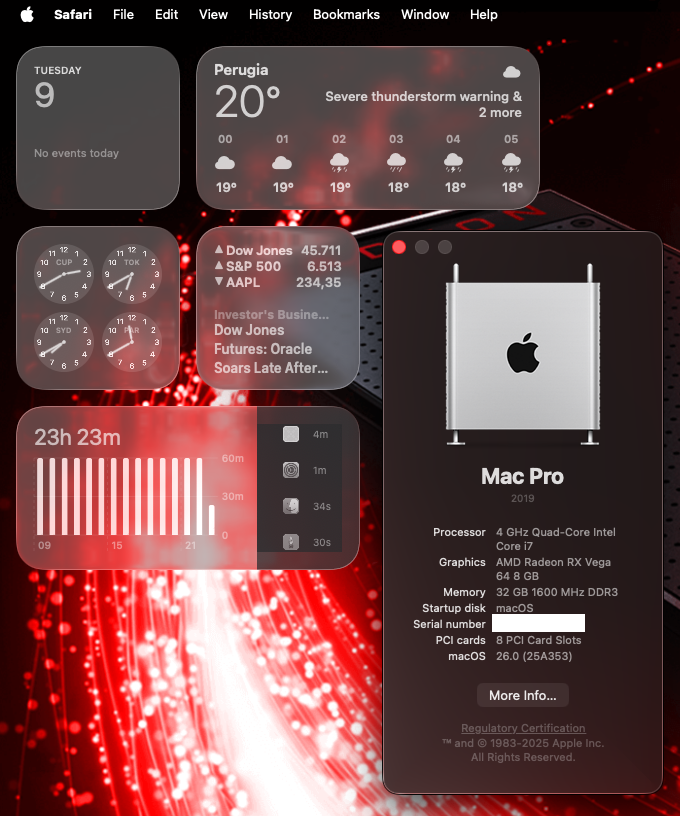
Poraccitudine definitiva!!! E' ora di upgradare il 9950x!

-
Nooooveeeeeee 9!!!!!
-
Hola a la senoraaaa!
-
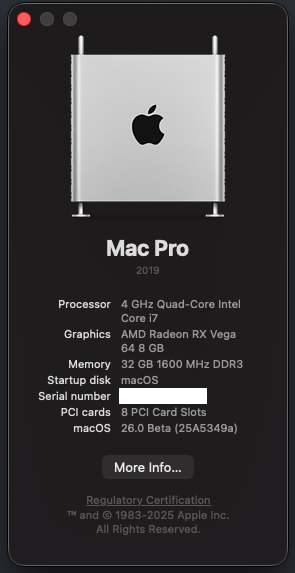
Poraccitudine all'ottava essenza 🫡
-
Beta sett'otto di poraccitudine! Che dite, lo upgrado con una H270 che ho preso da un dumpster dive giusto oggi? Non so ancora la CPU! Penso un i5 di sesta gen a naso...
-
A me pare molto più rifinita nella GUI e più veloce nelle cose di tutti i giorni. Iniziamo ad avvicinarci alla release finale!
-
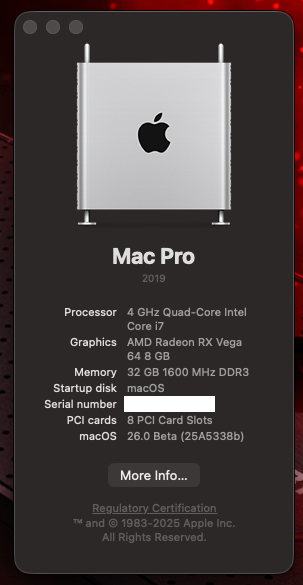
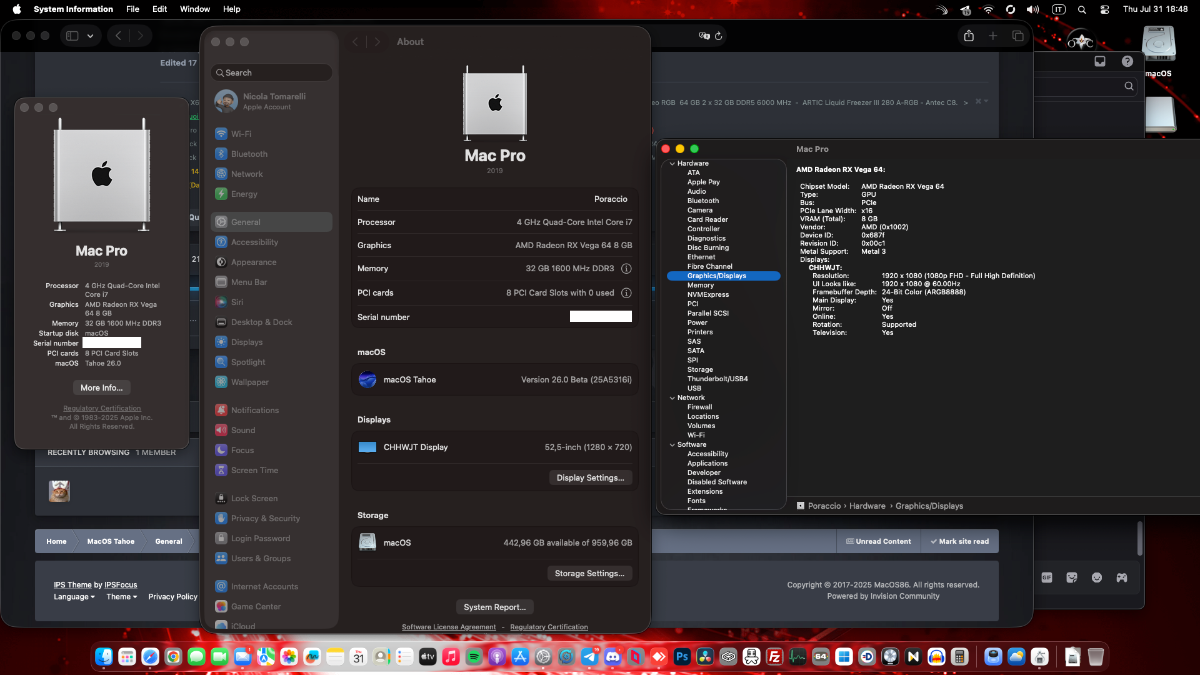
Poraccio al top con beta 6, i7 4790k + Vega 64 immortali!
-
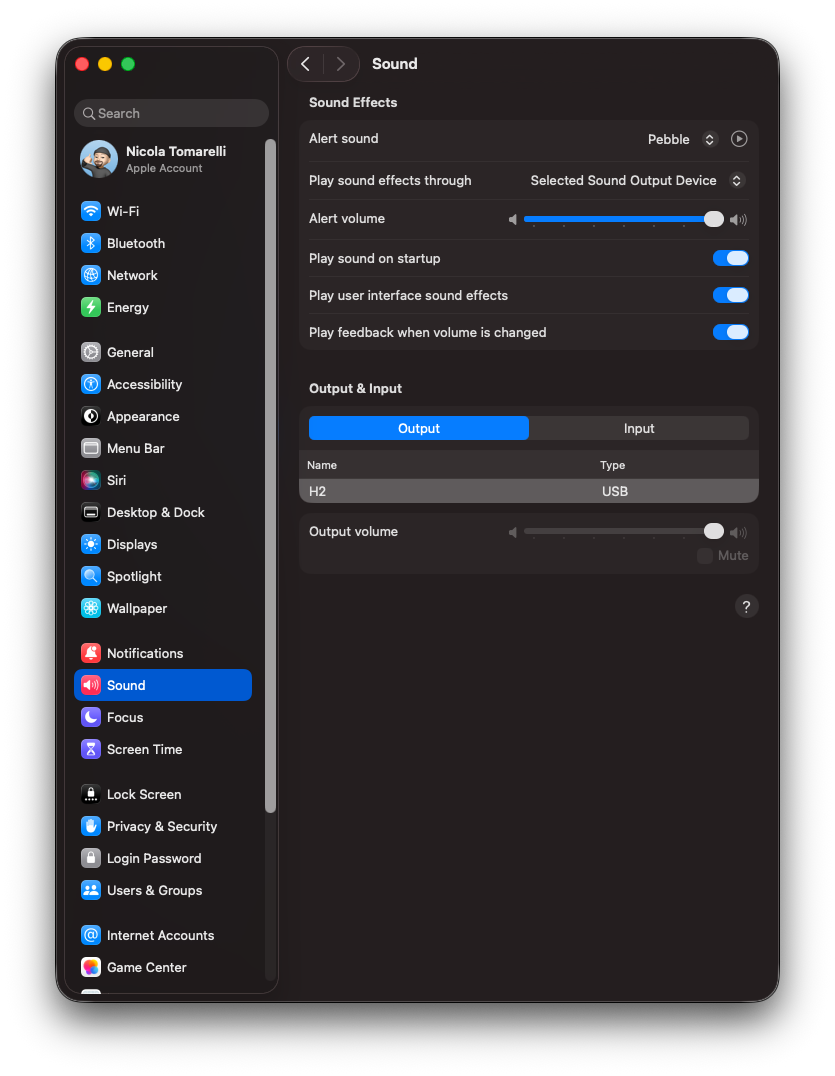
Bingoooo! Serviva VoodooHDA 2.9.6, ALC1150 deve essere stato escluso per qualche motivo nell'ultima release. Chi la dura la vince in hackintosh!
-
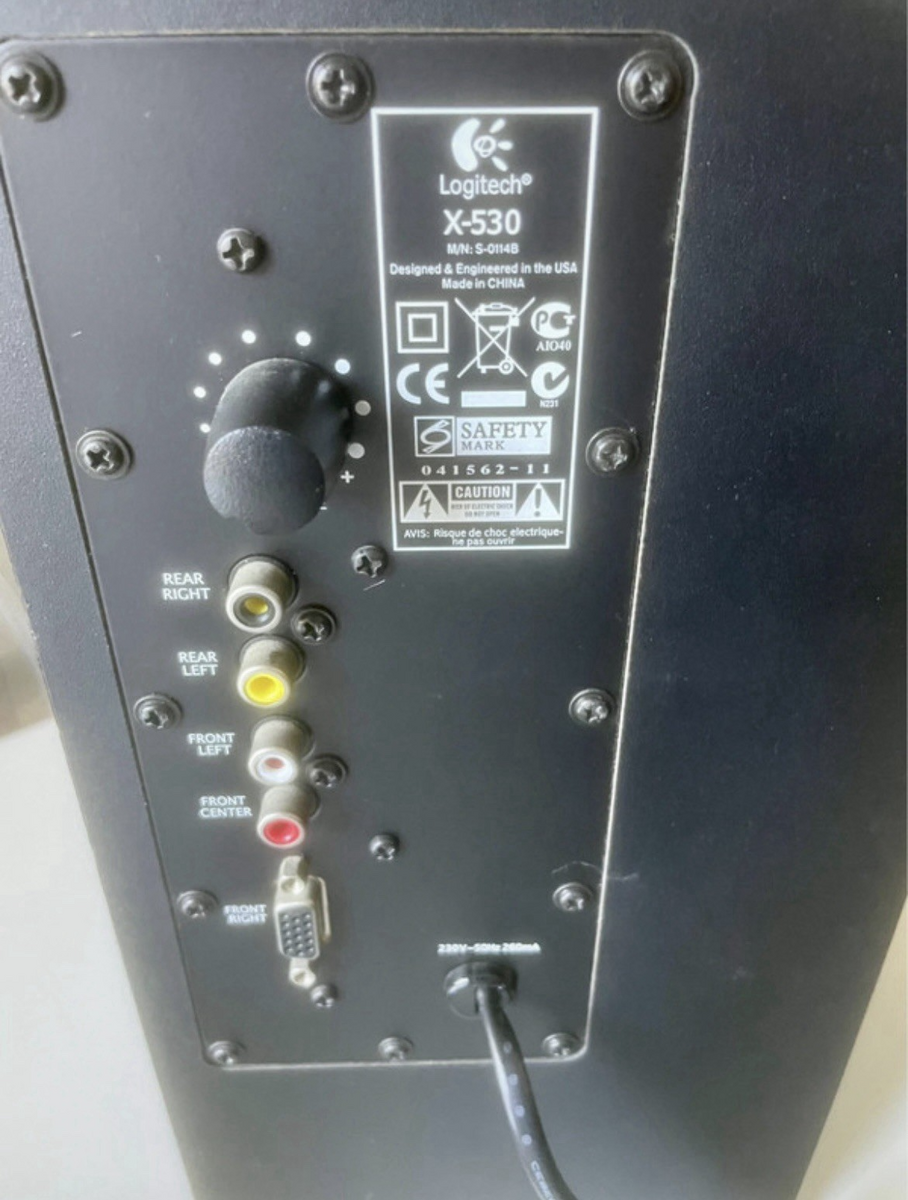
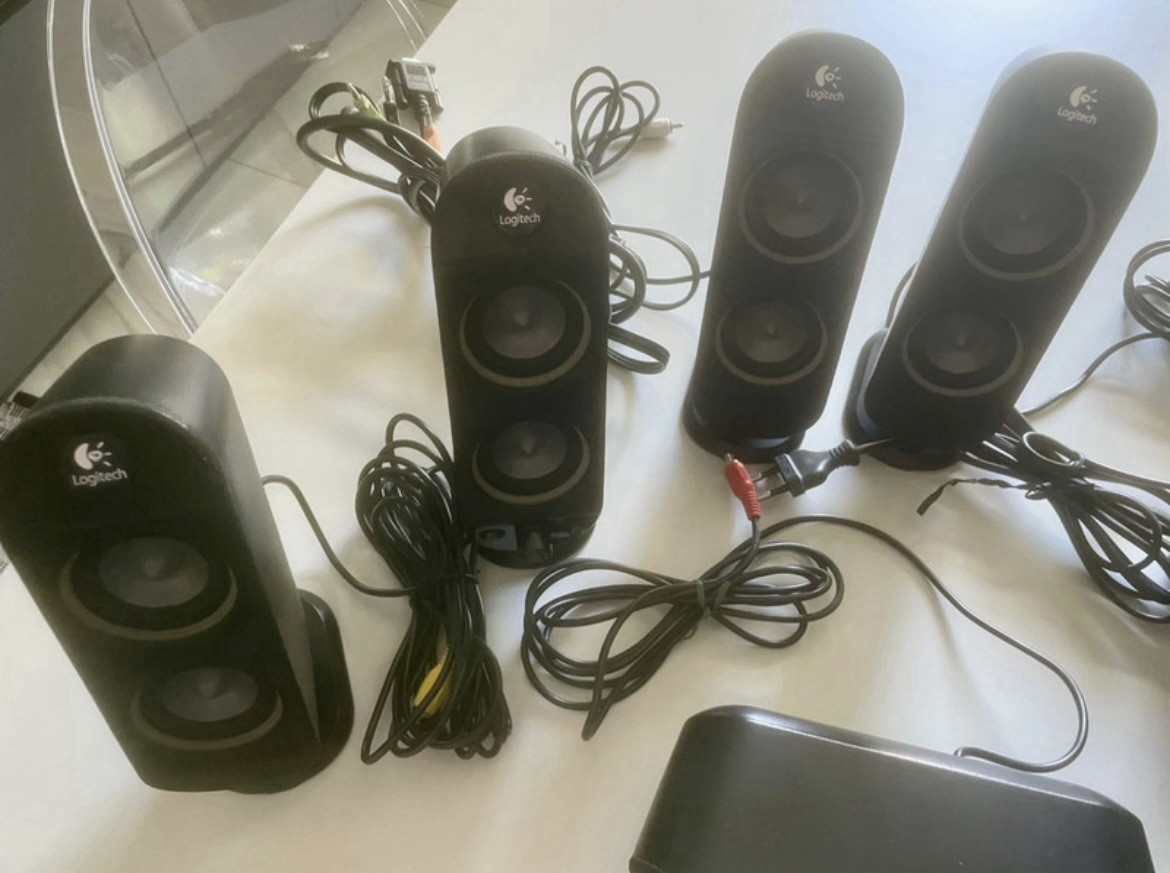
No sono le vecchissime inossidabili analogicissime X-530
-
Mancherà qualche definizione di pin, indago!
-
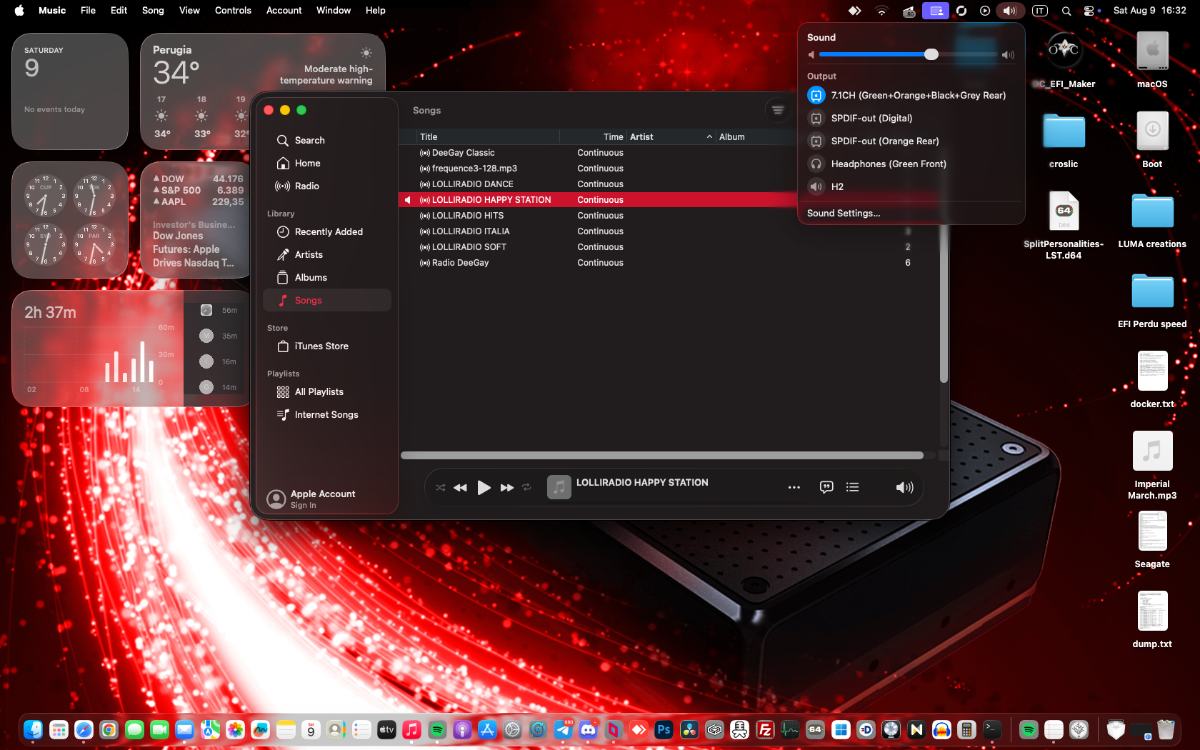
Ma io ho collegato le classiche Logitech 5.1 col subwoofer che hanno sempre funzionato alle porte verde nero e arancio... maledettiiiii 😉
-
Stesso script, stessi screenshot, tutto caricato... ma non trova l'audio integrato... oh magnum mysterium! Ho rimediato per ora con un'interfaccia USB che avevo in più ma non mi arrendo!!!
-
Mi carica il kext in memoria ma no ha alcun effetto... uhm
-
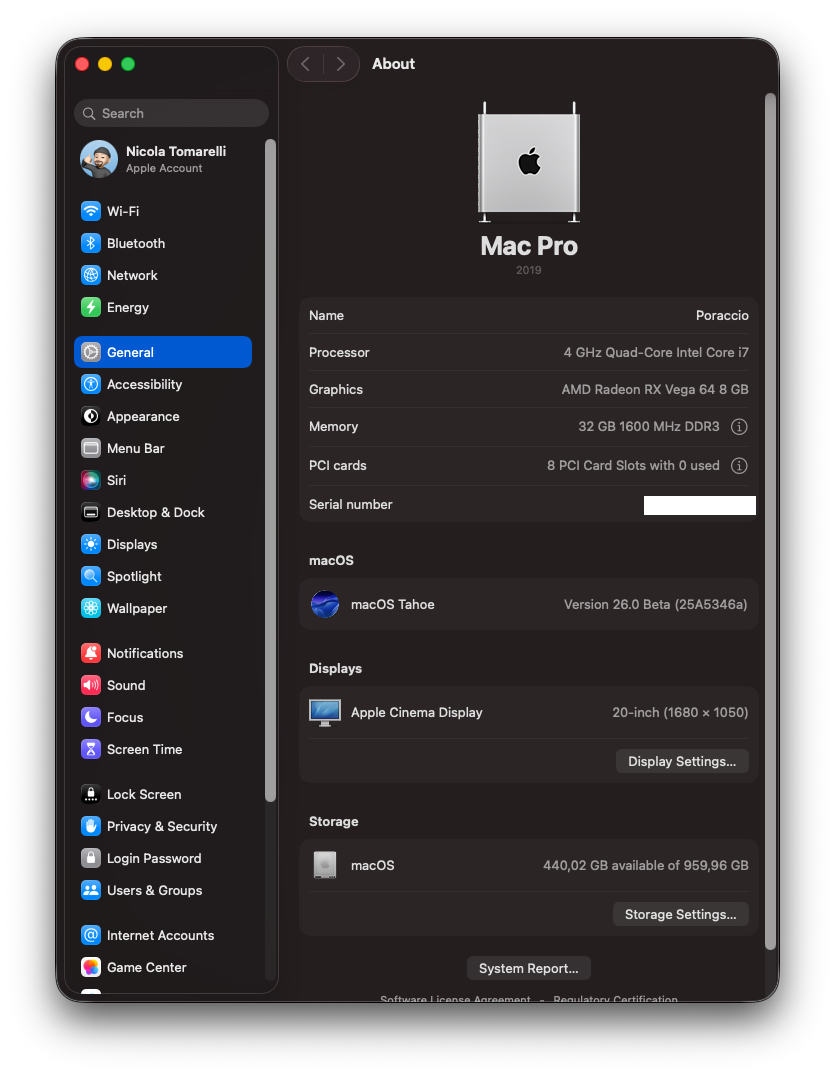
Io non riesco ad attivare VoodooHDA per esempio, forse devo fare qualche magheggio col SIP? tomnic@Poraccio ~ % csrutil status System Integrity Protection status: unknown (Custom Configuration). Configuration: Apple Internal: disabled Kext Signing: disabled Filesystem Protections: disabled Debugging Restrictions: enabled DTrace Restrictions: enabled NVRAM Protections: enabled BaseSystem Verification: enabled This is an unsupported configuration, likely to break in the future and leave your machine in an unknown state.
-
Poraccio aggiornato addirittura da remoto senza WEG... top... ma le icone nuove dei dischi? Bleargh solo per me?
-
Come amo questa macchina inutile! Ormai ho tolto proprio di mezzo Whatevergreen, fa sempre impallare la kernelcache durante gli update anche l'ultimissima versione!!!
-
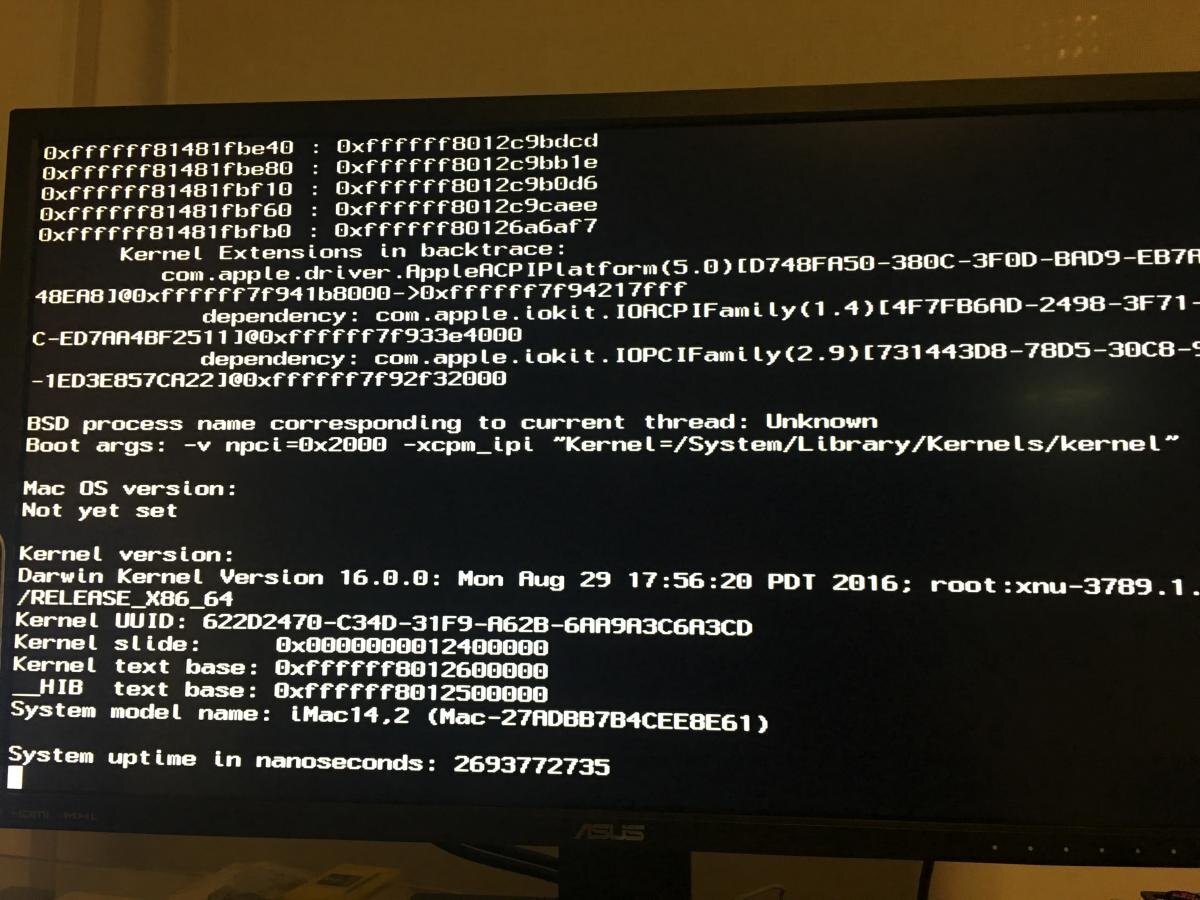
Di solito e' colpa di un kext che panica allo spegnimento della macchina, controlla i log errore da console.app per cercare di capirci di piu'
-
Aaaah le chiavette wifi compatibiliiiiii
-
https://pikeralpha.wordpress.com/2016/07/26/xcpm-for-unsupported-processor/comment-page-2/#comments just read comments, everything which is being tried is here, even @fabiosun posted there at those times!
-
64 max total cores / threads is not only a XNU limitation, but also a hardcoded limit in AppleACPI and similar crucial boot kexts... you can "bypass" the 3F cores limit by a kernel patch, Pikeralpha studied about it, but for personal (tragic) reasons he had to retire... so limit is still present and, right now, not avoidable: https://www.insanelymac.com/forum/topic/316804-80-core-hackintosh/