Search the Community
Showing results for tags 'nvidia'.
-
Salve, sono nuovo in questo forum ed è un piacere per me essere entrato, sono ancora alle prime armi con Hackintosh. Ho seguito questa guida https://github.com/kholia/OSX-KVM per l'installazione di Mac OS Monterey su macchina virtuale su Linux Debian 11. Ho usato QEMU come VM e OpenCore come boot. Ho installato Mac OS e sono riuscito ad allocare tutta la mia memoria RAM, e a configurare cores e threads della CPU nella VM. Non riesco invece ad attivare l'accelerazione hardware con opencore legacy patcher. Ho disabilitato la System Integrity Protection dalla RecoveryOS, ma non è cambiato nulla. Qualcuno per caso ha idee? Hardware: CPU: Ryzen 5 3600x GPU: NVIDIA 1660 SUPER RAM: 16GB DDR4 3200MHz
-
ciao a tutti premetto che sono nuovo nel forum, ho un macbook air per la creazione della chiavetta e dell'installer, sono diversi mesi che faccio tentativi con il mio pc facendo continuamente buchi nell'acqua. Vi spiego cosa vorrei fare ma non so se è fattibile, vorrei mettere in dual boot mac os big sur e windows 11 utilizzando la scheda video integrata del processore quando uso mac os e quando uso windows 11 la mia 1650 non supportata da mac. La mia configurazione è : i5 9600k gigabyte z390 ud gtx 1650 ( non supportata da mac os ) vi prego datemi una mano sono propio in alto mare ma sarebbe un sogno riuscire nell'impresa.
-
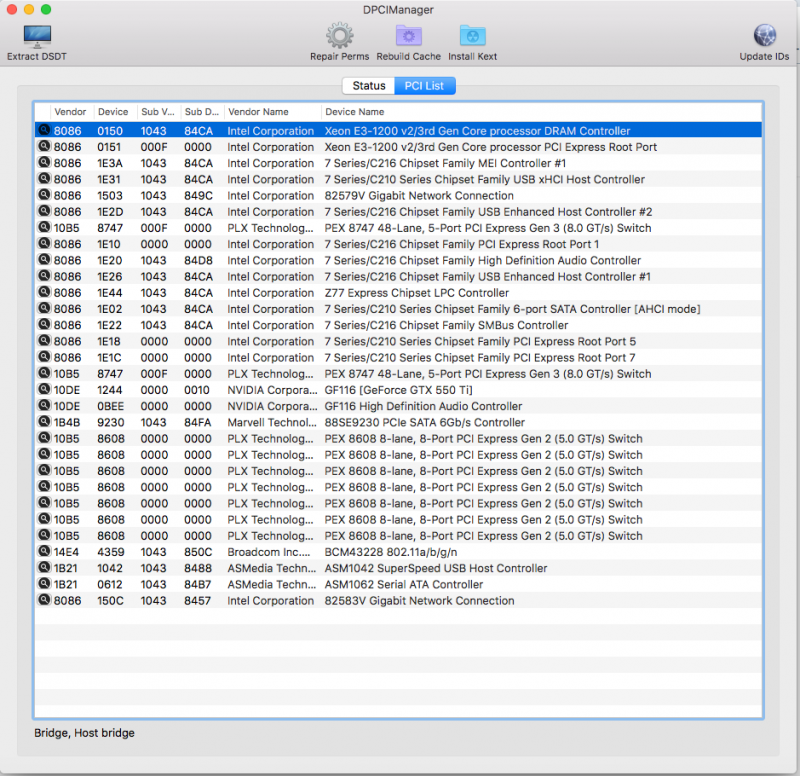
Salve a tutti, sono riuscito a completare uno dei miei hackintosh...purtroppo però questo hackintoh è fermo a sierra (10.12) di OS X e per questo volevo provare ad aggiornarlo a Big Sur Adesso vi spiego quale sono i problemi avevo comprato su uno store cinese una scheda video che doveva essere una gtx960 con 4 gb di ram...recentemente ho scoperto che era una scheda fake e ho provato a farla funziona a pieno flashando il bios originale (quello di una GTS450 con 1 GB di ram) visto il modello imamgino che questa scheda non sia supportata da OS X superiori a High Sierra perciò visto che le radeon adesso costano un'eresia...quale scheda mi consigliereste di usare e che non costi troppo (oppure c'è quelvche modo per fare funzionare questa GTS450? un'altro problema è che la scheda madre ha integrato un modulo Wi-Fi/Bluetooh (non saldato) però sembra che non sia compatibile metto lo screenshot di DPCIManger che elenca tutte le periferiche installate l'ultimo problema è che fino adesso ho usato clover per installare OS X perciò non ho idea di come usare OpenCore. Spero che potrete aiutarmi Grazie
- 13 replies
-
- aggiornamento
- bigsur
-
(and 1 more)
Tagged with:
-
ciao, premetto che questa è la mia prima build Hackintosh su un pc assemblato, ho provato a cercare su internet una build "simile alla mia" per "rubare" la cartella EFI; ovviamente non è andato nulla e la macchina crashava poco dopo aver avviato Install macOS Catalina/Big Sur; mi è stato consigliato da un'amico di provare a chiedere aiuto su questo forum. allego la mia build, il link di GitHub dove ho preso l'EFI e il debug di opencore BUILD: MB: aorus b450m CPU: R5 2600X Ram: due banchi da 8gb Corsair 3000mhz GPU: GTX 750 2gb SSD: kingston sata 60gb EFI: https://github.com/git-coder988/Ryzen-Hackintosh (ho usato la 0.6.3 normale per Catalina e la 0.6.3 Big Sur per big sur, quest'ultima addirittura mi diceva che non potevo installare macOS su quella macchina) opencore-2021-07-21-212823.txt.zip
-
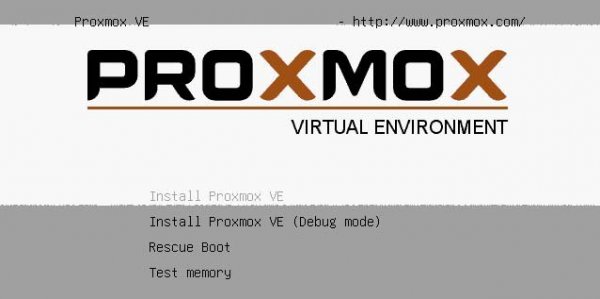
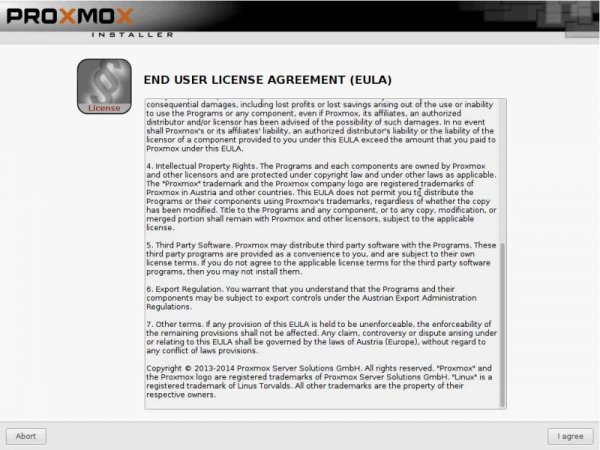
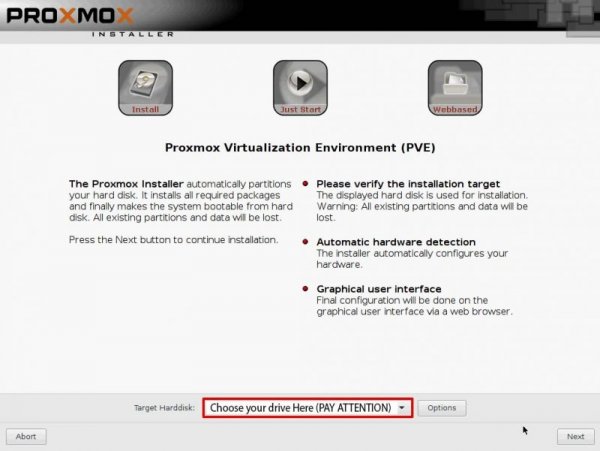
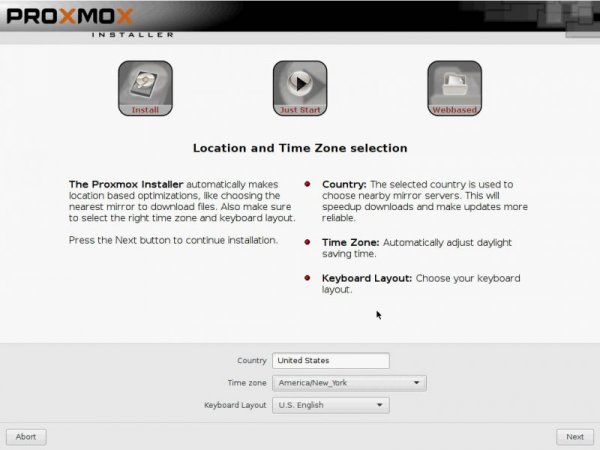
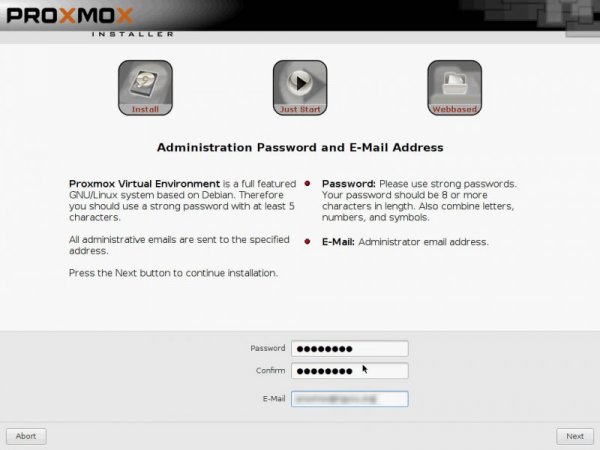
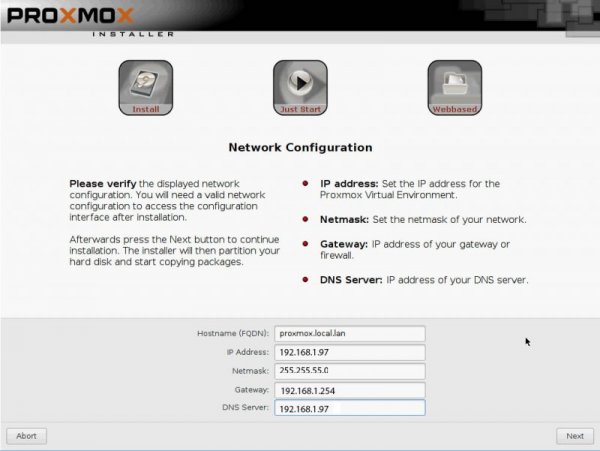
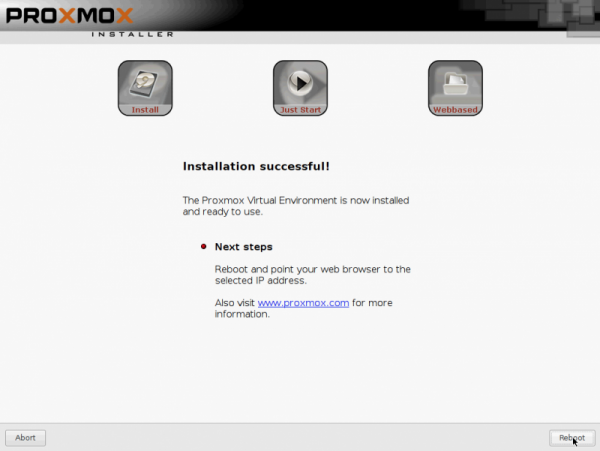
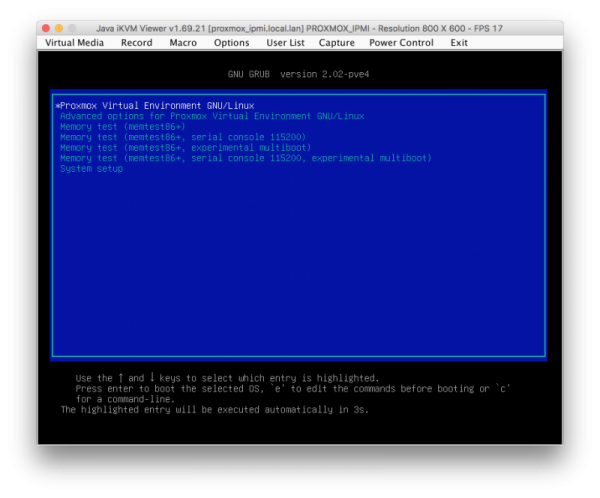
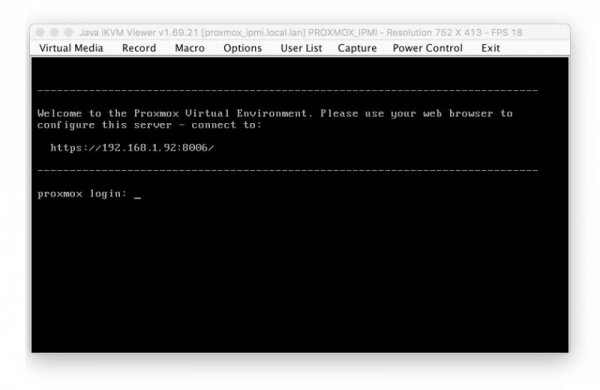
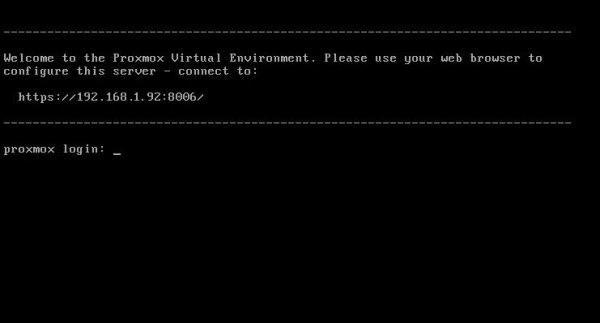
Preface: Inspired by the lack of patches for this new ThreadRipper CPU series , I have started to find a way to have "the fast Amd hack ever". Hard task was to setup a pretty bare machine inside an OSX linux vm. Many solutions were evaluated to reach this important goal. Ubuntu, CentOS, UnRaid and so on Tested many VM and found many interesting stuff on the net. Kholia's or foxlet's GitHub guide for example or nicksherlock's guide more Proxmox like. With these guide is possible to start our job and to have a working OSX..but I need more! 😉 I want to use my single Nvidia Gpu on it and for it I need a different approach. Single GPU usually is a pain because when we passthrough* it to the guest PC..we will loose it. So, we have to use another PC to connect in it or a simple Android or iOS tablet (now I am use my iPhone for this task 🙂 ) So, after some days of brainstorming with @tomnic we choose to start with Proxmox VE. It seemed the most flexible linux distro to reach my goal. macOS High Sierra and Nvidia web driver installed with no compromise. Proxmox Ve allows to build a bare metal system with Gpu passthrough, and, most important thing it has a web interface to control guest PC * Passthrough is a technique to "pass" hardware to a virtual machine loosing only a minimal part of hardware performance More difficult and critical task is passthrough our hardware to VM in a way which will allow me to have a pretty similar performance as a real hack and overall to have GPU at its best in this system. Prequisites: A minimal linux experience (I have had no idea before about linux and this was the main difficulty for me) To know what to search usefull for my need! A OSX, linux or windows system to collect some files (I have used used linux and OSX, with latest one preferred. System configured is in my signature, summarized here: MSI Trx40 10G Pro AMD 3970x Threadripper 32 cores / 64 threads (this guide is also useful for 3960x and maybe for 3990x (capping cores not supported by OSX kernel) 1Tb Nvme Sabrent and so on... Let's start! Mandatory Elements: 0) Proxmox VE (Proxmox Ve's wiki link) 1) a working OSX. Linux, Windows ( in this guide we use OSX High Sierra 10.13.6 2) download Vm_assistant's script, an exclusive script by macOS86.it and @Gengik84 VM assistant From this link a simple guide: Promox VE installation procedure: In this guide I will not do a detailed guide to install this linux release, you can find useful information on: link to Proxmox link to iso installer Use your favorite Iso installer to produce a bootable USB pen drive (8gb or more is fine) In this guide I have used Balena Etcher: link Balena Etcher Warning for initial installation part! * Due a problem with new TRX40 motherboard , ProxMox 6.1 and lower will hang on early booting stage. To avoid this you have to modify grub.cfg file in this way: find this line: linux /boot/vmlinuz-5.3.10-1-pve root=/dev/mapper/pve-root ro quiet with this linux /boot/vmlinuz-5.3.10-1-pve root=/dev/mapper/pve-root ro quiet mce=off adding mce=off allows us to start this exciting journey.... Alternatively you can modify this line directly on boot menu selection before selecting your choice (press E and add mce=off as shown before) thanks @KTC for pointing me in the right direction * this problem could be resolved with a future Proxmox update SOLVED in Proxmox 6.1-3 and greater step 1: boot from your ProxMox Ve USB pen drive, you will have: select Install Proxmox VE and then follow indication you can see below. Note Fill your network data with your (setup should do it for you except for Domain and your email) Installation is done! 😛 Reboot and choose your usb pen drive and boot from it. In a few second you will see: Now pay attention..if you have not modified grub.cfg...you MUST do it now pressing E on keyboard and adding manually mce=off as previously shown. You have also to remember to do it permanently when we start in Proxmox VE first time. At login user is root password (your previous choice during Proxmox installation) now it is possible to be a bit worried..if you are (as I was) not confident with linux command)..but I will try to stay more simple I can. Start to find googling how to read or to modify some files in linux (text configuration file I mean). I have used nano command..you can also use vim or similar command. Now, take note of link you can see in this picture: https://192.16.1.92:8006 (yours could be different) and the magic starts : )
- 32 replies
-
- 9
-

-

-
Per molti utenti l'installazione/attivazione dei webdriver risulta problematica, ecco i passi da seguire: verificare di avere la NVRAM nativa https://www.macos86.it/topic/34-procedura-per-determinare-se-la-nvram-è-nativa-nel-nostro-hardware/?tab=comments#comment-166 SE NVRAM non nativa, vedi a fine guida Nota1 nel config di Clover: System Parameters flaggare NvidiaWeb Rt Variables --> CsrActiveConfig impostare 0x0 oppure 0x03 In caso di schermo nero al desktop, aggiungere il boot-arguments nv_disable=1 Gatekeeper deve essere abilitato riavviare e al boot dalla GUI di Clover eseguire reset NVRAM con F11 al desktop installare i webdriver relativi alla propria release di macOS https://www.macos86.it/files/file/36-webdriver/ https://www.insanelymac.com/forum/topic/324195-nvidia-web-driver-updates-for-macos-high-sierra-update-july-15-2020/ durante l'installazione, se tutto procede a modo, dovrebbe apparire una richiesta di sblocco dei driver in preferenze sistema --> sicurezza --> tab generali in basso a destra dovrebbe esserci un pulsante con abilita webdriver da cliccare terminare installazione e riavviare nella GUI di Clover se non presente aggiungere il boot-arg nv_disable=1 avviare e al desktop aprire terminale e digitare sudo kextcache -i / al termine riavviare nella GUI di Clover al boot, se presente in maniera permanente nv_disable=1 perché scritto nei boot-args sul config, eliminarlo ed avviare al desktop ora se tutto fatto a modo, i webdriver saranno installati ed attivi Nota 1 In caso non si sia superato l'iniziale test della NVRAM nativa, occorre installare tramite Clover App https://github.com/CloverHackyColor/CloverBootloader/releases i Clover Daemon in modo da poterla emulare ed avere nelle root della EFI il file nvram.plist Vecchio metodo di emulazione attraverso gli rc.script che si selezionavano durante installazione di Clover tramite pkg Da preferire nuovo ed efficiente metodo, attraverso CloverApp, dove si installano/rimuovono con un click https://www.macos86.it/topic/2634-clover-app-plisteditor-ottimizzazione-temi/?tab=comments#comment-67082 Per tutti termini o cose che non risultano chiare, cliccare e leggere FAQ in firma 🙂
-
- 2
-

-
- nvidia
- installazione
-
(and 2 more)
Tagged with:
-
Ciao a tutti, recentemente ho rianimato un vecchio pc (in firma come "pc secondario") e ci ho installato su high sierra, con opencore funziona tutto, tranne l'accelerazione grafica. Per curiosità ho provato una efi al volo con clover e mettendo la spunta su inject nvidia la scheda funziona a meraviglia. Vorrei riuscire ad usare opencore per via dei suoi vantaggi, però non capisco come fare. Ho trovato solamente nella guida di Dortania per la conversione da Clover a OC questa cosa che allego ma non saprei come usarla 🤷♂️.
-
ciao, dopo aver aggiornato il bios della mobo e fatto ripartire il Mac, aggiungendo un parametro in ACPI PATCH mi sembra che sia meno reattivo ai vari comandi di apertura finestre o gestione programmi seppur avendo aggiunto 16gb di ram in piu, ma avendo cambiato modo di injectare la scheda nvidia, poi ci sono alcune cose nel configurator che non so se vadano specificate o no, tipo la ram in dual channel per esempio, allego config.plist config.plist.zip
-
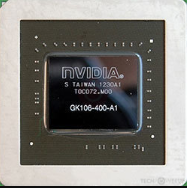
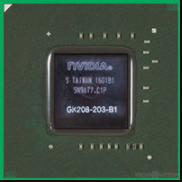
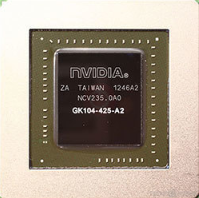
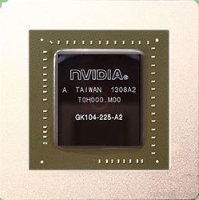
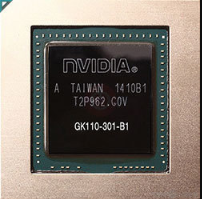
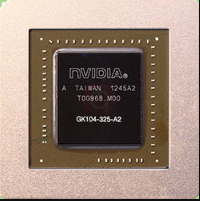
NVIDIA ID: 10DE GPU ID compatibili serie 10xx PASCAL (MacOS High Sierra 10.13.6 Nvidia Web Drivers) 1B02 GTX Titan Xp (GP 102-450 Pascal core) 1B80 GTX 1080 1B81 GTX 1070 1B83 GTX 1060 1C82 GTX 1050ti 1D01 GT 1030 GPU ID compatibili serie 9xx MAXWELL (MacOS High Sierra 10.13.6 Nvidia Web Drivers) 1402 GTX 950 1401 GTX 960 13C2 GTX 970 13C0 GTX 980 17C2 GTX TITAN X GPU ID "Legacy" ancora compatibili serie 6xx e 7xx KEPLER e KEPLER 2.0 GK110-301-B1 (Kepler) GK104-225-A2 (Kepler) GK104-325-A2 (Kepler) GK104-425-A2 (Kepler) GK106-400-A1 (Kepler) GK208-203-B1 (Kepler 2.0) GPU ID compatibili famiglia KEPLER (tutte le versioni di MacOS) 1185 GeForce GTX 660 (GK104-200-A2) 1189 GeForce GTX 670 (GK104-325-A2) 1180 GeForce GTX 680 (GK104-400-A2) 1187 GeForce GTX 760 (GK104-225-A2) 1184 GeForce GTX 770 (GK104-425-A2) 1004 GeForce GTX 780 (GK110-301-B1) 1005 GeForce GTX Titan (GK110-400-A1) 1001 GeForce GTX Titan Z (GK110-350-B1) GPU ID compatibili famiglia KEPLER 2.0 (tutte le versioni di MacOS) 128B GeForce GT 710 2GB (GK208-203-B1) 1288 GeForce GT 720 1/2GB (GK208-203-B1) 1287 GeForce GT 730 4GB (GK208-203-B1)
-
- 7
-

-

-

-
- nvidia gpu
- nvidia gtx
- (and 9 more)
-
salve a tutti ho problemi con HDMI audio su Hackintosh HighSierra con scheda Video Nvidia 1050ti 4g allego efi EFI copia i5 8400 gtx 1050ti 8gb ram high sierra ACPI.zip Mac.ioreg
- 38 replies
-
- nvidia
- highsierra
-
(and 1 more)
Tagged with:
-
The Nvidia GeForce 310 works fine with High Sierra 10.13.6 with Inject Nvidia in the Config.plist Greetings Mocca55
-
The Nvidia Quadro FX1800 works fine with High Sierra 10.13.6 with Inject Nvidia in the Config.plist. Greetings Mocca55


.thumb.jpg.406f88e13c0b93e0e58b053f8fb641b8.jpg)
