Leaderboard
Popular Content
Showing content with the highest reputation on 07/21/2020 in all areas
-
1 point
-
1 point
-
no assolutamente nulla, essendo generico inietta cose di base, utili per tutti ma non tutti hanno TB e oltre a questo le "posizioni" possono cambiare da hardware a hardware1 point
-
1 point
-
esattamente devi scrivere in sortedorder SSDT-390series.aml poi mi pare che manchi la mappatura non hai il tuo thread sul forum per l'hack 5?1 point
-
Buona sera @Gengik84 ed @icanaro che gia mi stai seguendo sull'altra discussione. intanto mi è arrivato adattatore pcie che ha sostituito adattatore M.2 sul mio Hack5 ed il Bluetooth è ritornato a funzionare. Grazie ancora. credo a questo punto che sia alloggio su scheda madre che non ne vuole sapere.1 point
-
ora il config originale hack5 è pulito e quello quirks mi pare a posto però se dobbiamo continuare la discussione per il/i tuoi hack, forse meglio proseguire nel thread della tua build e non qui in sorted order vanno inseriti i nomi degli SSDT presenti in EFI CLOVER patched1 point
-
Ok ma il wifi è intel? in caso puoi provare dei kext, c'è il relativo topic fatto da @iCanaro1 point
-
usi forse un configurator? nella patch che hai messo, in TableSignatures metti 44534454 salva, riavvia e rifai ioreg1 point
-
1 point
-
sostituisci prima mi ero dimenticato di dirlo, rimuovi ssdt-basic rifai ioreg DSDT.aml.zip1 point
-
perchè nel config hai aggiunto la voce DSDT in acpi? il rename deve essere su ACPI/Path1 point
-
basic continua a funzionare, quello TB no ricontrolla il config e in caso aggiungi il rename dsm to zdsm in acpi/patch in caso prova questo prima senza alcun rename SSDT-X299-TB3HP.aml.zip1 point
-
@Extreme™ adesso molto meglio, anche il PM è ok riguardo "Basic" è più un nome che altro, dato per il fatto che inietta dinamicamente "cose" necessarie senza la minima estetica aggiunta. va su molte serie, da haswell in poi, sia desktop che laptop comunque a questa configurazione, se già non ti funziona, puoi aggiungere ssdt per TB1 point
-
Nel frattempo: con questa configurazione per così dire basica di OC che mi hai fatto impostare funziona di nuovo il boot di windows 10 e funziona anche lo stop.1 point
-
@Roberto prova, ma oltre al config, aggiungi anche questo kext https://www.macos86.it/topic/3062-cputscsync/ config-4.plist.zip1 point
-
Bluetooth risolto: acidanthera_github , avevano rilasciato una nuova versione per Catalina.1 point
-
1 point
-
Fai una prova. disabilita tutte le acpi dichiarate nel config in ACPI/Add disabilita tutte le patch in ACPI/Path Scarica SSDT-Basic in download, collocalo al suo posto e poi dichiaralo sul config in ACPI/Add1 point
-
New to this forum and might as well contribute my guide for hackintoshing the Asus-S510UA-DS71 that I wrote a couple months ago -- Enjoy!1 point
-
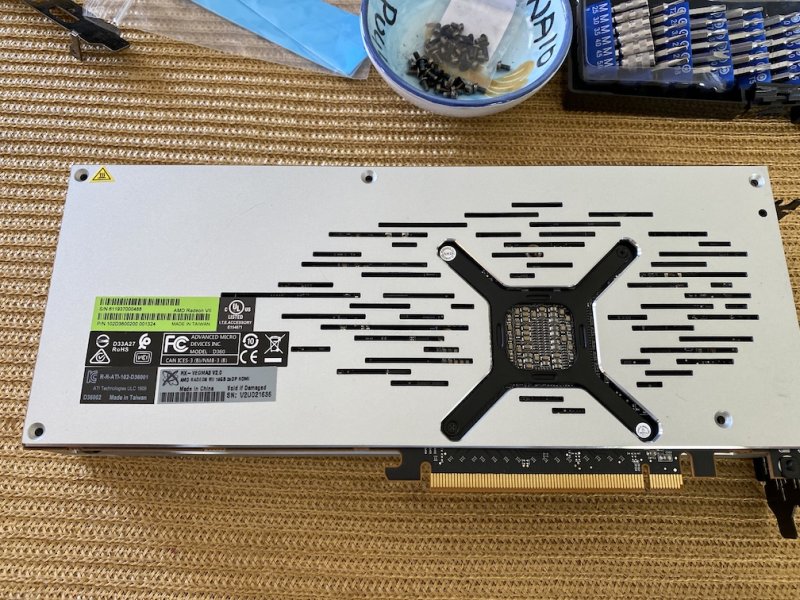
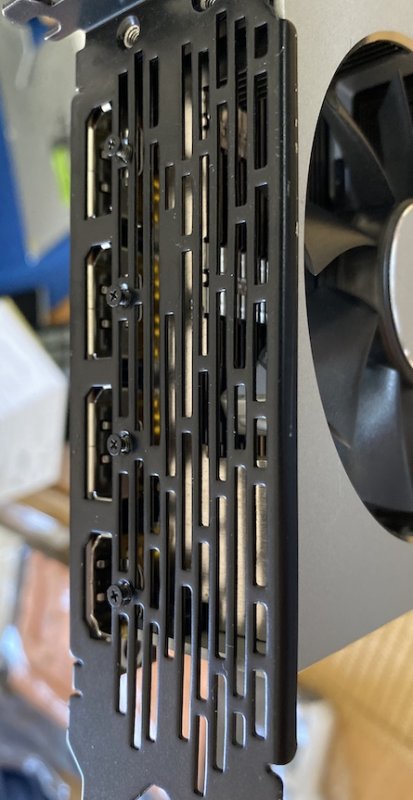
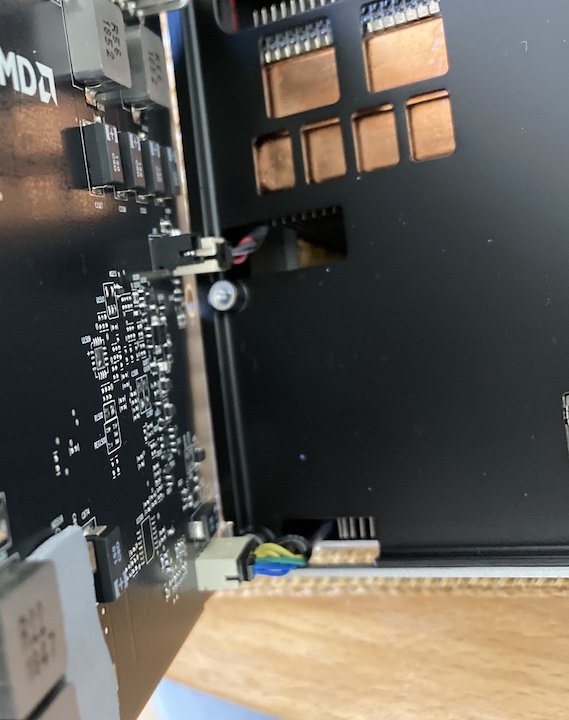
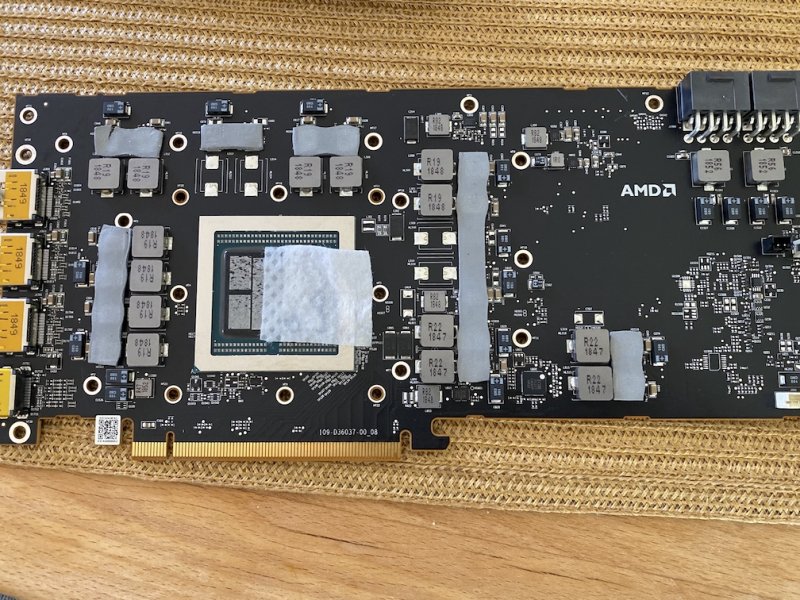
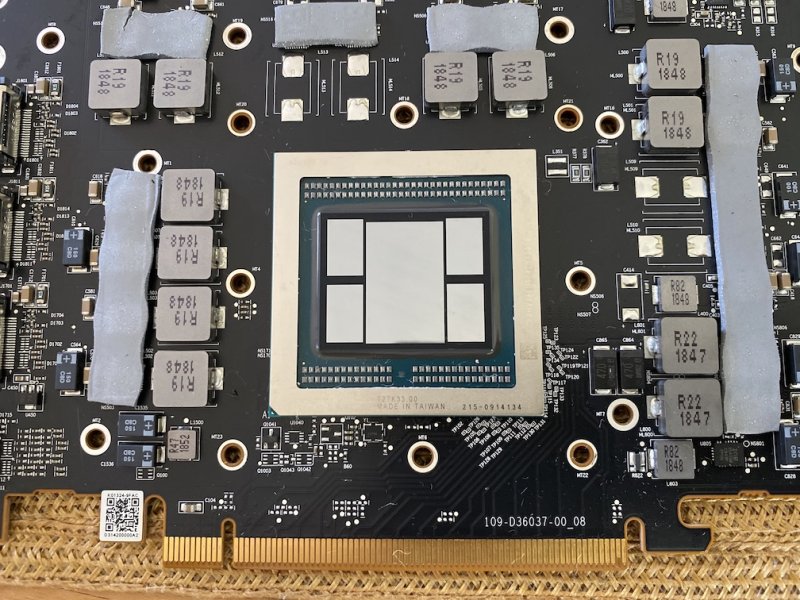
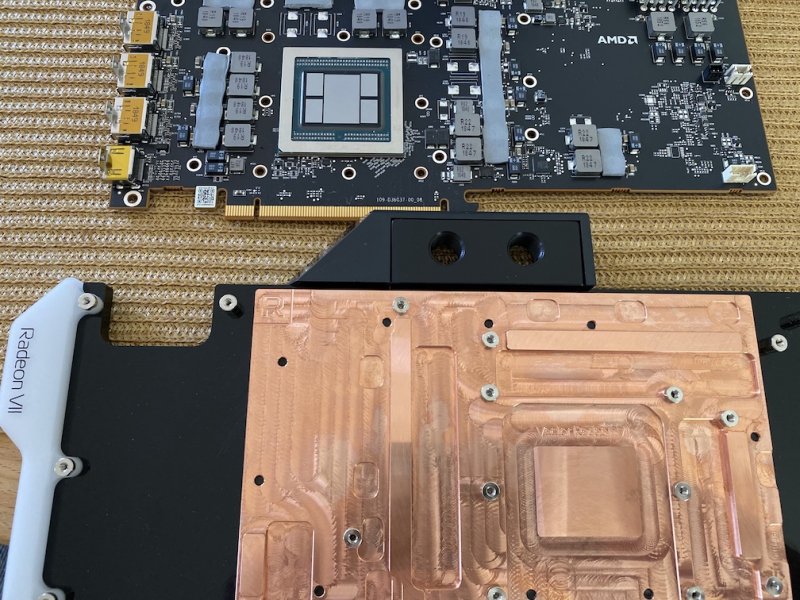
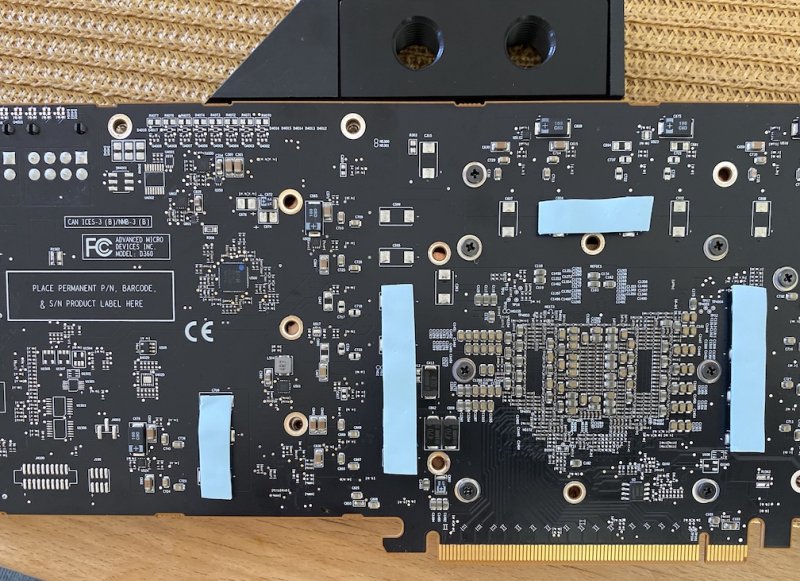
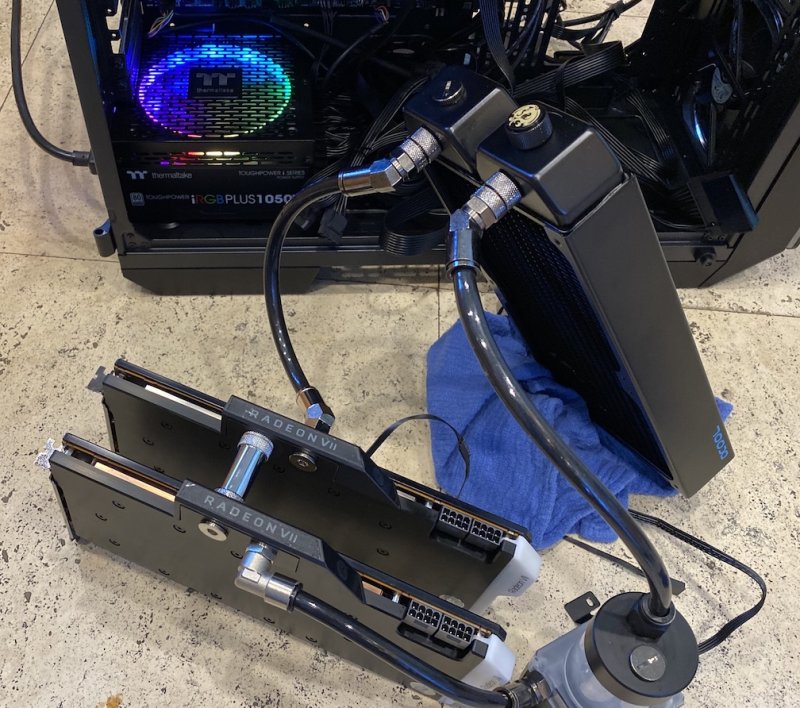
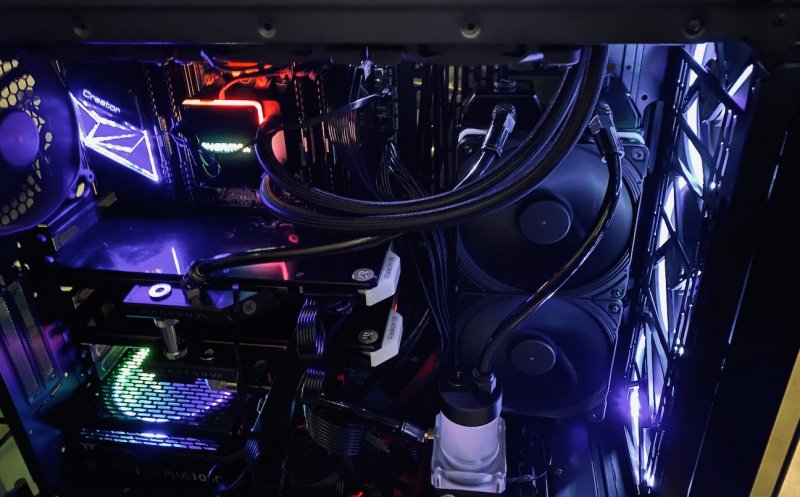
Yes, I used EKWB. They're no longer being made, but I found 2 (one two months ago and the 2nd last week; unfortunately this one has no LED connections). [I actually have another cooler plate for a Radeon VII made by BYKSKI (who has also stopped making them). I wanted to have both GPUs with same plates, so I waited a before doing the conversion until I found a 2nd EKWB. I will re-sell the BYKSKI plate on eBay at a later date; it is NIB.] I'm attaching photos of the set-up. First, assembly of the GPU plates, then the water loop connection with external testing and finally the internal placement. Two GPU cooling is a little trickier as a coupling is needed between the two GPUs and a third hand would have been helpful during the install. Initial photos show take-down of GPU from back side: back plate removal, removal internal screws, removal of mounting bracket screws, and disconnecting cables. Next, the GPU chips need to be cleaned and heatpads positioned for connection to new copper frontplate. Finally, comes addition of a back plate. This is optional but provides better heat transfer: After assembly of each GPU water-cooling plates, they were connected with a sliding coupler (BYKSKI X41; 41mm allows connection for GPUs in slots 1 & 3). I use slip-on, quick connectors for ease of assembly. The tubing is 8mm ID and 10mm OD (purchased from UK). Below the entire loop is filled and then run to test for leaks. Nothing leaked from the start! The radiator is a thick 280mm (alpha-COOL) that uses two 140mm Noctua fans. This stage ran for a couple of hours. (A cheater plug is connected to the main PS connector; this prevents mobo from powering up). After the above is completed, only then is the cooling loop placed inside the chassis. However, it was leaked tested again and after another hour or so of testing, the mobo was finally powered up as shown below. The LED cable for the top GPU has not yet been connected (an extension is needed). It will light up. As mentioned, the other GPU cooler had no cables, so I don't think it will ever light up). The CPU cooler has its radiator (360mm) on the top, the GPU's on the side. The front three 140mm fans are for intake. On the rear is a 140mm exhaust fan. All radiators have their fans pushing air out of the case, so as not to internalize any hot air. (I purposefully chose a case in which I could maximize use of 140mm fans for their greater air flow while using reduced speeds with less noise.)1 point
-
potrebbe dipendere dall'EDID sul forum c'è una guida di @Jolly per lo schermo nero al risveglio prova a seguirla0 points
-
0 points
-
apri thread in catalina notebook e posta la EFI che se ne discute li e non nel thread della creazione della pendrive @astef e metti in firma, in modo contenuto e compatto tuo hack0 points
-
0 points


