Leaderboard
Popular Content
Showing content with the highest reputation on 07/12/2020 in all areas
-
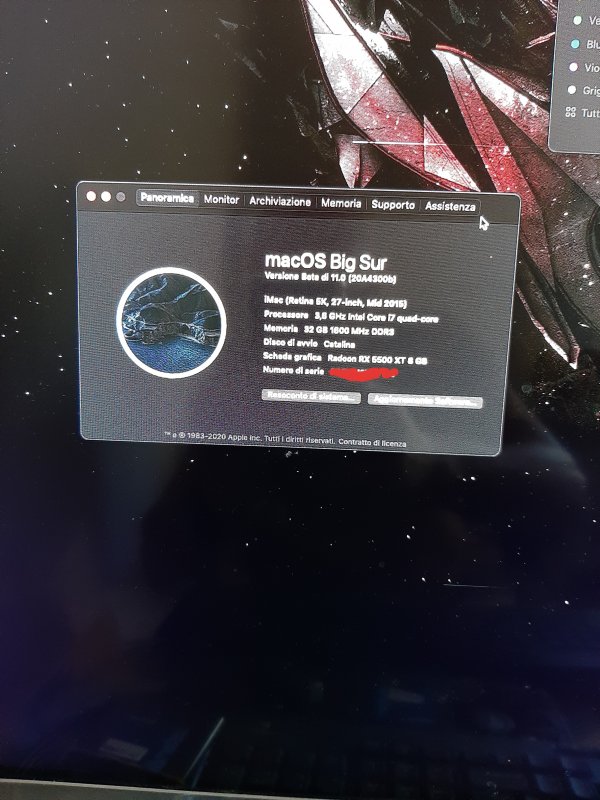
A titolo informativo testato ora su una macchina di qualche anno fa CPU i7 4790 Mainboard Asus sabertooth z97 Scheda video rx 5500 xt Compilato oc 0.6 Configurato OC e testato su Catalina Smbios compatibile big sur Aggiornato direttamente col tool boot-args nessuna aggiunta Tutto funzionante perfettamente...2 points
-
Version 1.0.18
366 downloads
Script che scarica BaseSystem.dmg regolarmente dal catalogo Apple e una volta terminato crea una ISO. Utile per VM E' stato creato su richiesta e quindi per aiutare @fabiosun Attualmente supporta Catalina Mojave High Sierra In ultima Release disponibile. This script allows us to download from Apple catalog BaseSystem.dmg file, when this task is complete it create an ISO. Creation was done to simplify a process to download and install macOS on a VM created with Proxmox VE With 1.03 release is also possible to pass some terminal command to create a full installer iso if you have previously downloaded one from Apple Store or to download it directly (useful for a fast installation) It is also possible to download latest OSX (Big Sur) and a proper EFI to upload in Proxmox and to use to boot in all OSX system available1 point -
1 point
-
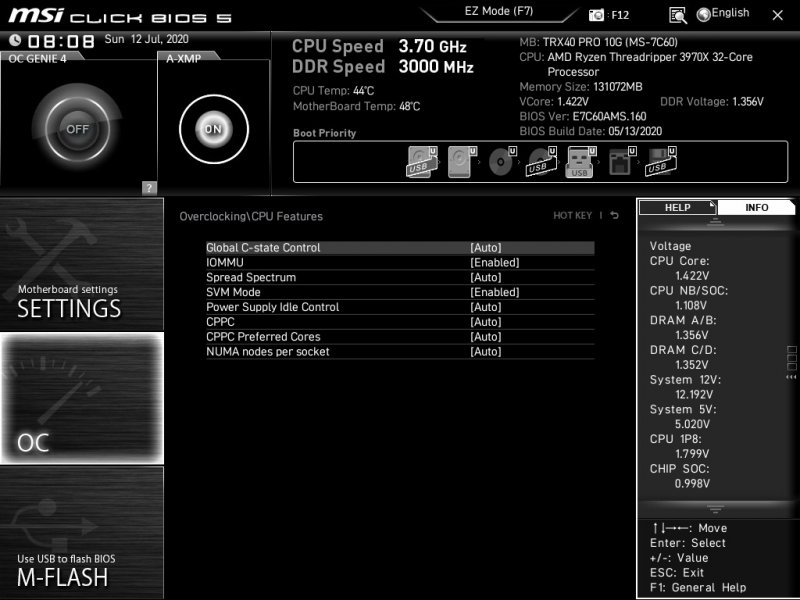
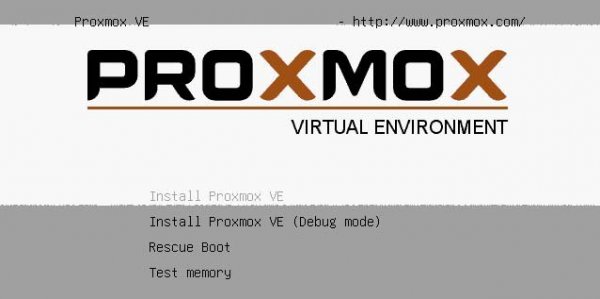
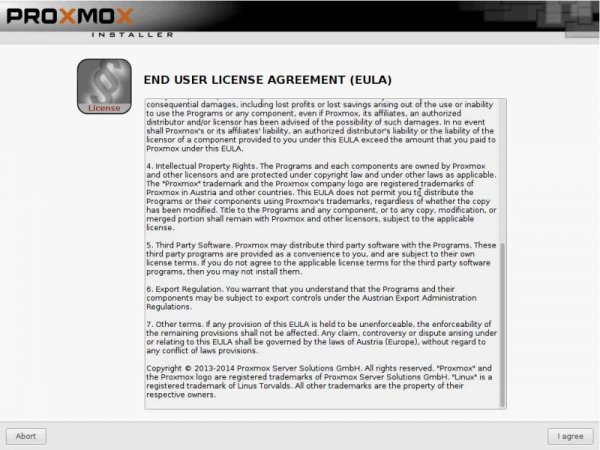
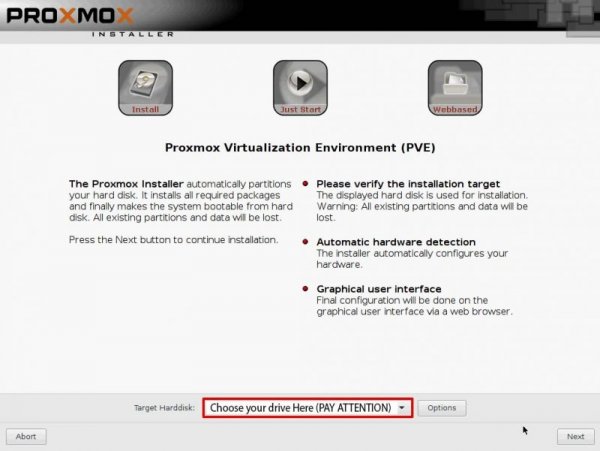
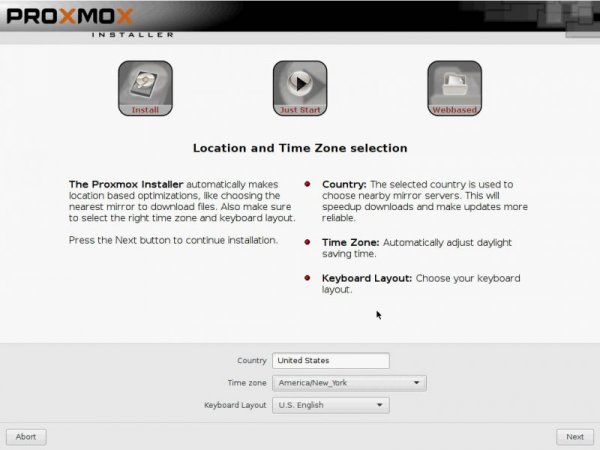
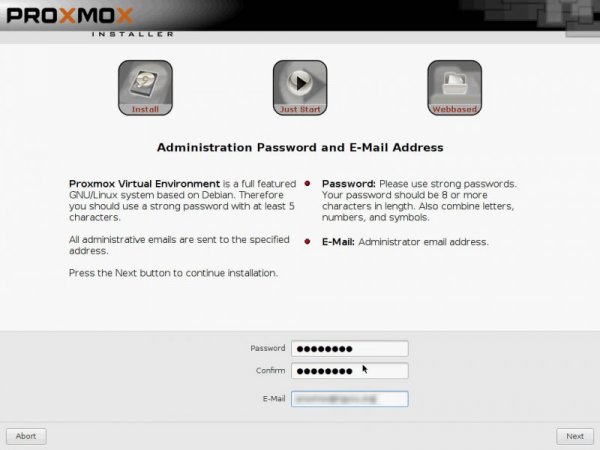
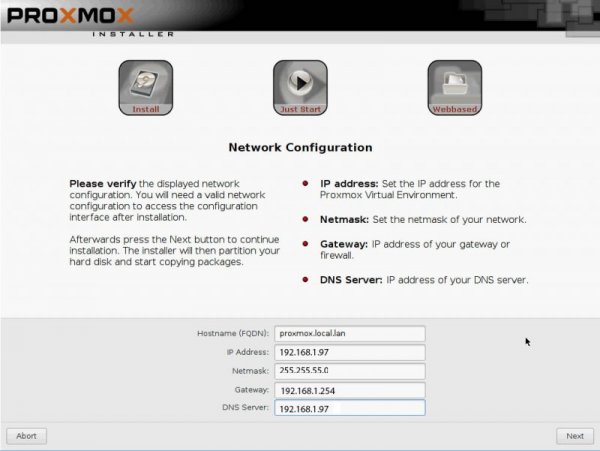
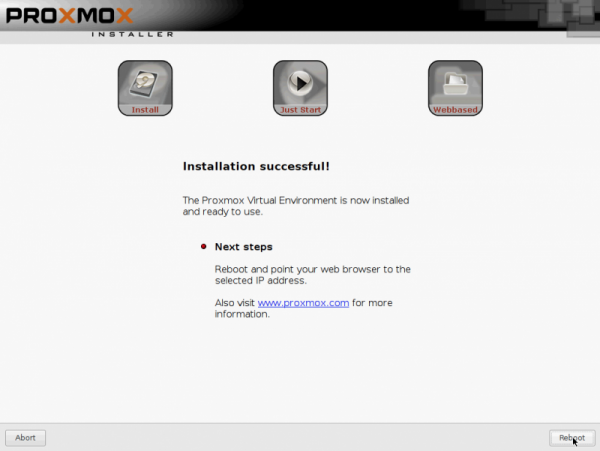
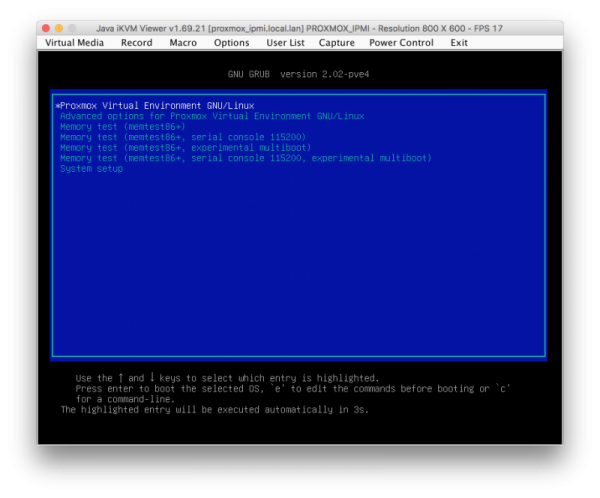
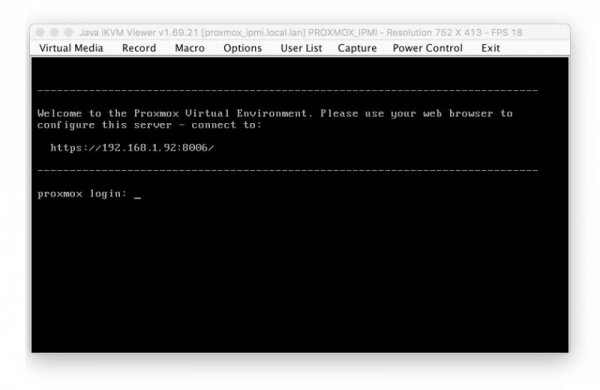
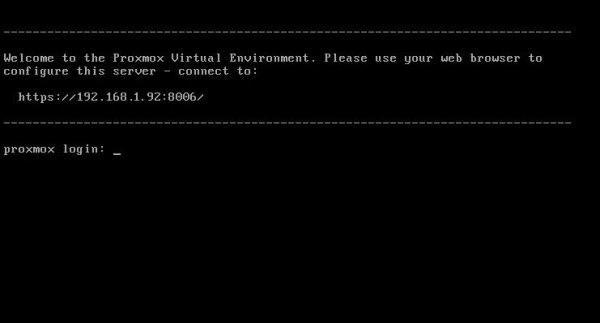
Preface: Inspired by the lack of patches for this new ThreadRipper CPU series , I have started to find a way to have "the fast Amd hack ever". Hard task was to setup a pretty bare machine inside an OSX linux vm. Many solutions were evaluated to reach this important goal. Ubuntu, CentOS, UnRaid and so on Tested many VM and found many interesting stuff on the net. Kholia's or foxlet's GitHub guide for example or nicksherlock's guide more Proxmox like. With these guide is possible to start our job and to have a working OSX..but I need more! 😉 I want to use my single Nvidia Gpu on it and for it I need a different approach. Single GPU usually is a pain because when we passthrough* it to the guest PC..we will loose it. So, we have to use another PC to connect in it or a simple Android or iOS tablet (now I am use my iPhone for this task 🙂 ) So, after some days of brainstorming with @tomnic we choose to start with Proxmox VE. It seemed the most flexible linux distro to reach my goal. macOS High Sierra and Nvidia web driver installed with no compromise. Proxmox Ve allows to build a bare metal system with Gpu passthrough, and, most important thing it has a web interface to control guest PC * Passthrough is a technique to "pass" hardware to a virtual machine loosing only a minimal part of hardware performance More difficult and critical task is passthrough our hardware to VM in a way which will allow me to have a pretty similar performance as a real hack and overall to have GPU at its best in this system. Prequisites: A minimal linux experience (I have had no idea before about linux and this was the main difficulty for me) To know what to search usefull for my need! A OSX, linux or windows system to collect some files (I have used used linux and OSX, with latest one preferred. System configured is in my signature, summarized here: MSI Trx40 10G Pro AMD 3970x Threadripper 32 cores / 64 threads (this guide is also useful for 3960x and maybe for 3990x (capping cores not supported by OSX kernel) 1Tb Nvme Sabrent and so on... Let's start! Mandatory Elements: 0) Proxmox VE (Proxmox Ve's wiki link) 1) a working OSX. Linux, Windows ( in this guide we use OSX High Sierra 10.13.6 2) download Vm_assistant's script, an exclusive script by macOS86.it and @Gengik84 VM assistant From this link a simple guide: Promox VE installation procedure: In this guide I will not do a detailed guide to install this linux release, you can find useful information on: link to Proxmox link to iso installer Use your favorite Iso installer to produce a bootable USB pen drive (8gb or more is fine) In this guide I have used Balena Etcher: link Balena Etcher Warning for initial installation part! * Due a problem with new TRX40 motherboard , ProxMox 6.1 and lower will hang on early booting stage. To avoid this you have to modify grub.cfg file in this way: find this line: linux /boot/vmlinuz-5.3.10-1-pve root=/dev/mapper/pve-root ro quiet with this linux /boot/vmlinuz-5.3.10-1-pve root=/dev/mapper/pve-root ro quiet mce=off adding mce=off allows us to start this exciting journey.... Alternatively you can modify this line directly on boot menu selection before selecting your choice (press E and add mce=off as shown before) thanks @KTC for pointing me in the right direction * this problem could be resolved with a future Proxmox update SOLVED in Proxmox 6.1-3 and greater step 1: boot from your ProxMox Ve USB pen drive, you will have: select Install Proxmox VE and then follow indication you can see below. Note Fill your network data with your (setup should do it for you except for Domain and your email) Installation is done! 😛 Reboot and choose your usb pen drive and boot from it. In a few second you will see: Now pay attention..if you have not modified grub.cfg...you MUST do it now pressing E on keyboard and adding manually mce=off as previously shown. You have also to remember to do it permanently when we start in Proxmox VE first time. At login user is root password (your previous choice during Proxmox installation) now it is possible to be a bit worried..if you are (as I was) not confident with linux command)..but I will try to stay more simple I can. Start to find googling how to read or to modify some files in linux (text configuration file I mean). I have used nano command..you can also use vim or similar command. Now, take note of link you can see in this picture: https://192.16.1.92:8006 (yours could be different) and the magic starts : )1 point
-
Sorry, while I normally keep all boxes, I threw away the Enermax box since I'd modified it and there was no chance of returning it. The code 2020-05 probably means it was produced in May of this year, so more recent production than mine.1 point
-
1 point
-
1 point
-
Non è mio, ma proviene da un, credo dev, del forum tedesco puoi provare, come ho scritto in diverse pagine dietro, da me ha iniziato installazione aggiornamento da beta 1 OC e terminato clover1 point
-
I have always checked in disassembled kernel max cpu init as pikeraplha said some time ago to check from my old dual xeon 2696 V4 dual rig. This is "how to.." 1.) otool -tVj /S*/L*/Kernels/kernel > kernel-disassembled.txt 2.) open kernel-disassembled.txt 3.) Search for: “_ml_init_max_cpus:” 4.) Look for: “cmp rcx, 0x3f” 0x3f means 63 (counting from 0 we have 64 cores/threads) I think if Big Sur is really new and built for apple silicon cpu..maybe they have unlocked this part1 point
-
This web site has interesting, and well-thought out, commentary on Mac related issues (and also interesting essays on art). In this post, the writer discusses Apple Silicon matters as well as better describes the problem with kexts in Big Sur. On at least 2 other forums, I've read how many people have been trying to install kexts into Big Sur using Recovery Mode. In turns out, the Recovery Mode method is only for 3rd-party kexts to be used by Apple Silicon Macs. For our Hackintoshes and real (Intel) Macs, kexts intended for Intel-based machines are simply to use essentially the same installation methods as with Catalina, which OpenCore is handling for us with its updates.1 point
-
I've been asked how to make the Enermax Liqtech TR4 II stable, as it has a bad reputation on the internet. Many of these pumps have failed due to internal corrosion thought to be due to poor or non-existent anti-corrosion solution. Before using, I 'repaired' the cooler: first, by flushing out the radiator and pump housing, next by re-filling with a good quality, anti-corrosion solution, and finally, by re-surfacing the plate. I used these two videos as a start for the tear-down (the pump method is cleaner; I did the work in my kitchen sink): https://www.youtube.com/watch?v=luUwpbdYnaQ https://www.youtube.com/watch?v=Hx-fhoB5Gyo I used this pump to flush the radiator several times with water before re-filling: https://www.amazon.com/gp/product/B07GR1HSR7/ref=ppx_yo_dt_b_search_asin_title?ie=UTF8&psc=1 I used this solution (it's a concentrate; follow directions on bottle to dilute with water) to re-fill the radiator/pump: https://www.amazon.com/gp/product/B00CDXQ22M/ref=ppx_yo_dt_b_search_asin_title?ie=UTF8&psc=1 I then re-surfaced the plate, as I already posted in this thread here, to make the surface flat to better transfer heat from the CPU. After the above steps, the pump works great with good thermals and it is very quiet. More importantly, after these 'repairs', the functionality and longevity should be much improved. BTW, the fans that come with the pump are actually very good and I did not replace with Noctua fans as originally planned. When setting pump speed in BIOS, you want to set the speed at a minimum of 2500 rpm (less than 2000, the pump won't work and the LEDs won't turn on: the LEDs are a good indicator that the pump is working). I think it's now running closer to 3000 rpm. If running at full speed (>4000 rpm), it is too fast and I think will shorten life-span of the pump. I mainly use fan speeds to vary cooling and keep sound at minimum when thermals are low.1 point
-
1 point
-
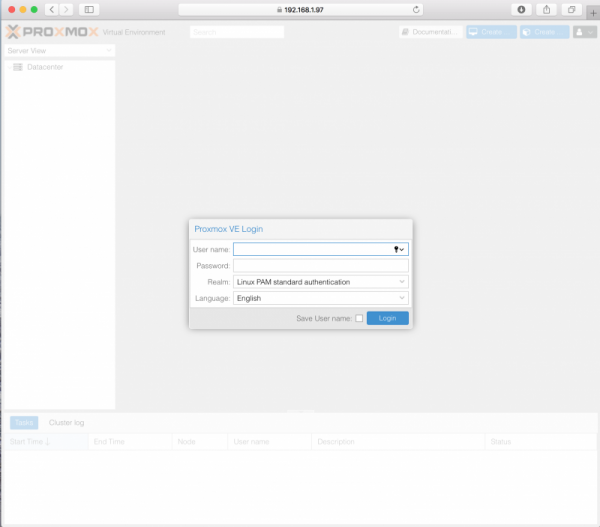
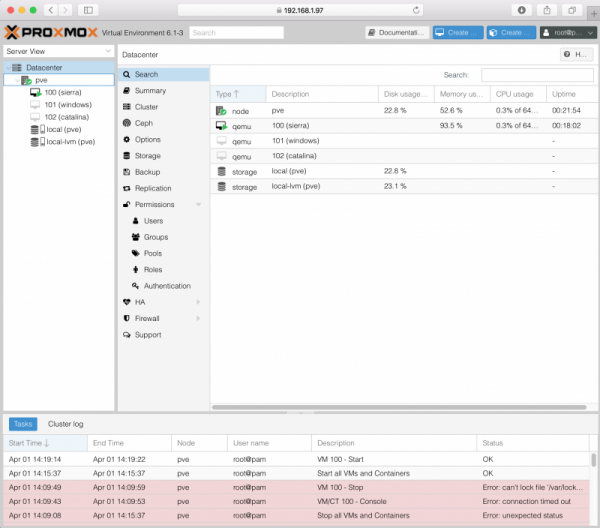
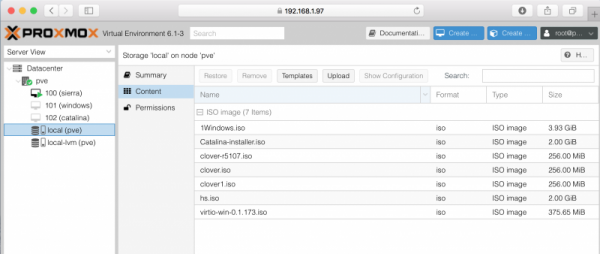
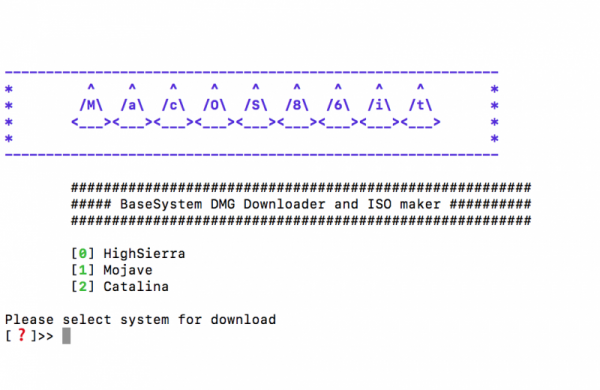
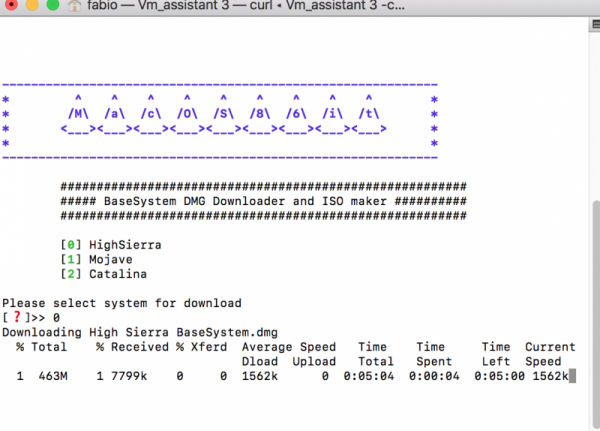
Now, with our Threadripper PC on we have to use another pc or tablet (also phone) connected in the same network, cable or wi-fi is fine Open your browser and digit the address noted above and you will see Proxmox web interface login mask: For the VM configuration part we will spend some time here Login with user name root and password your previously inserted password and you will see: Proxmox has a main subscription way to have a more business support, you can click simply on ok to go on. This is the main page. You can see I have configured 3 VMs and now we start to configure new one. you should have this page empty only pve node and local and local-lvm voices See on the storage 'local' pn node "pve" the upload button. This is the place where we upload things useful like OSX installer or clover iso to use in installation process. We need of new shining script made by @Gengik84 for macOs86.it users to simplify some process, you can reach similar result using other script but this is very simple to use. So download VM assistant from and execute it: choose system you want to install (you need an internet connection for all this process and also for the installation) In my case HighSierra. choose 0 VM Assistant terminal options: ------------------------------------------------------------- Usage: Show this help page: /Users/fabio/Desktop/VM_Assistant-2 -h ------------------------------------------------------------- Download latest clover for VM: /Users/fabio/Desktop/VM_Assistant-2 -dc or /Users/fabio/Desktop/VM_Assistant-2 --downloadclover ------------------------------------------------------------- Convert Installer.app to ISO: /Users/fabio/Desktop/VM_Assistant-2 -cti or /Users/fabio/Desktop/VM_Assistant-2 --apptoiso ------------------------------------------------------------- Download Catalina full Installer: /Users/fabio/Desktop/VM_Assistant-2 -dcata or /Users/fabio/Desktop/VM_Assistant-2 --downloadcatalina ------------------------------------------------------------- Download Mojave full Installer: /Users/fabio/Desktop/VM_Assistant-2 -dmoja or /Users/fabio/Desktop/VM_Assistant-2 --downloadmojave ------------------------------------------------------------- Download HighSierra full Installer: /Users/fabio/Desktop/VM_Assistant-2 -dhs or /Users/fabio/Desktop/VM_Assistant-2 --downloadhighsierra ------------------------------------------------------------- when all is done you can find on your desktop a new folder named Apple_DMG with inside: 10_13 folder, hs.iso and clover1.iso files (their name could be different). You can now upload them via web interface pressing upload button. In this place you have to upload all iso useful to create a VM (also windows.iso or other linux iso if your goal is to instal others system) Osx needs of clover1.iso and hs.iso (boot loader and Osx installer), nothing else!1 point
-
Si all'Asus andrebbero ammazzati, ma ora hai Gigabyte e i problemi sono finiti 😄...0 points


