Leaderboard
Popular Content
Showing content with the highest reputation on 04/04/2020 in all areas
-
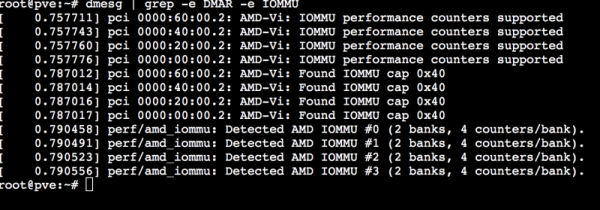
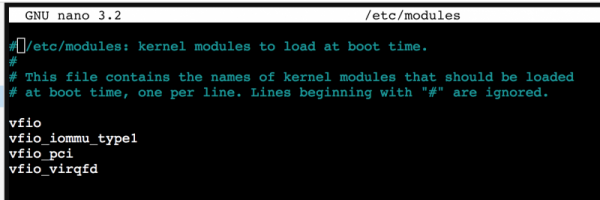
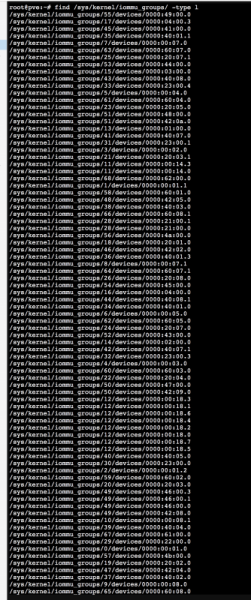
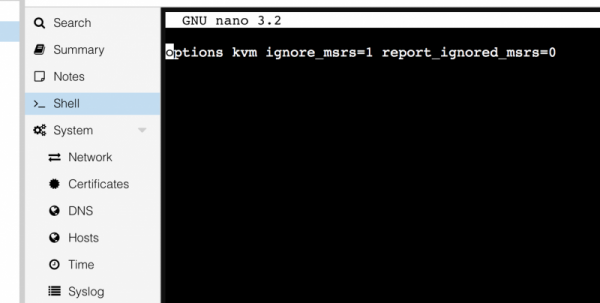
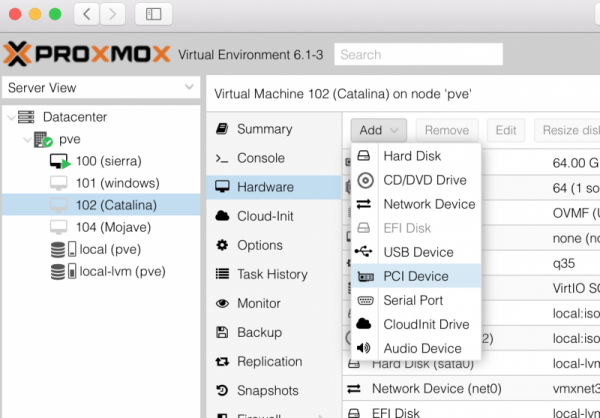
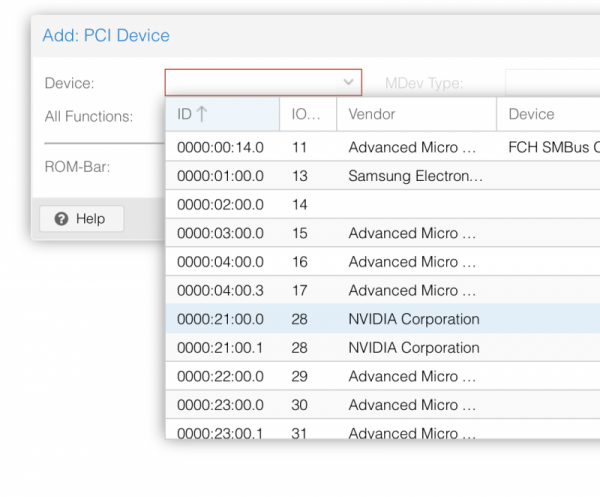
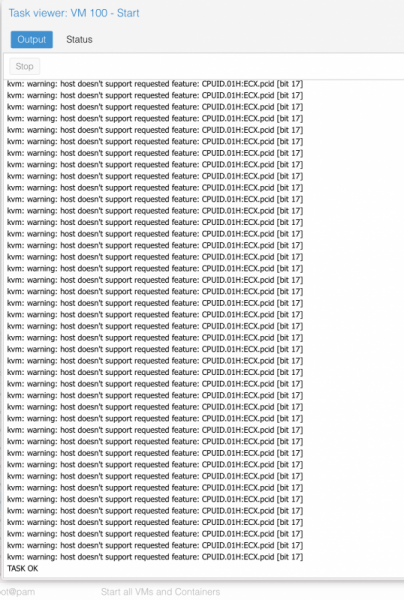
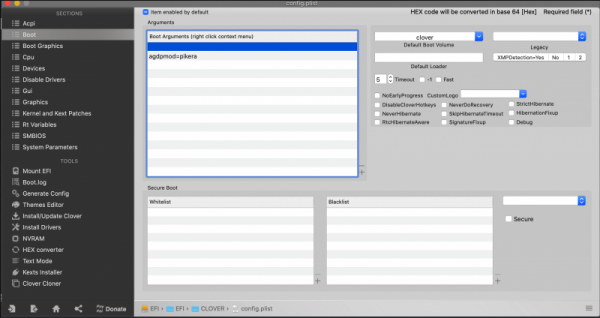
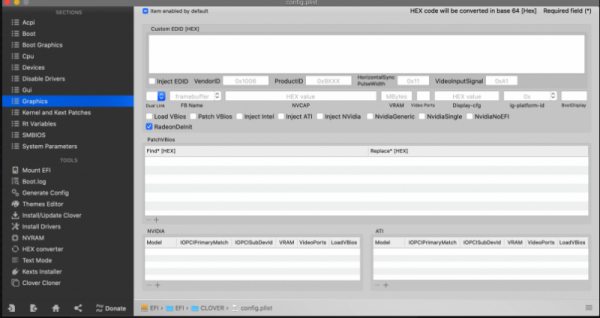
Useful link. Proxmox wiki In this site you can find a tons of useful informations. So read it to clear doubts you can have. Now some useful informations to start thinking to PCI Passthrough. from Proxmod wiki site: Modify grub for your cpu: first step enable the IOMMU. to do this open a shell from Your Proxmox's web interface: type nano /etc/default/grub insert in it "amd_iommu=on" without quote as you see here: ctrl x then Y to save then do not launch upgrade-grub but pve-efiboot-tool refresh then reboot, to verify all is fine, open shell again and type: dmesg | grep -e DMAR -e IOMMU you have a pretty similar output if all is fine..otherwise repeat step above: you can add also iommu=pt to improve some performances in PCI device not in use by your VM. Now another very important part. We need some modules to load, by default they are not loaded: type: nano /etc/modules and add these modules: "Verify also IOMMU isolation (follow Proxmox wiki just in case) (follow my situation which may differ from your)" "To have separate IOMMU groups, your processor needs to have support for a feature called ACS (Access Control Services)." now the tricky thing: Determinate your GPU address: in shell type: lspci and check for your graphic card address: this is my GFX address, then type: lspci -n -s 21:00 you will see: root@pve:~# lspci -n -s 21:00 21:00.0 0300: 10de:1b02 (rev a1) 21:00.1 0403: 10de:10ef (rev a1) root@pve:~# Create a file in etc/modprobe.d/ named vfio.conf: echo "options vfio-pci ids=10de:1b02,10de:10ef" > /etc/modprobe.d/vfio.conf and add on it: options vfio-pci ids=10de:1b02,10de:10ef disable_vga=1 (ctrl x then y) then you have to blacklist the drivers.. PAY ATTENTION and save it , when you reboot after this step it could be possible to have to operate exclusively from Web Pc interface: so type: echo "blacklist radeon" >> /etc/modprobe.d/blacklist.conf echo "blacklist nouveau" >> /etc/modprobe.d/blacklist.conf echo "blacklist nvidia" >> /etc/modprobe.d/blacklist.conf reboot your pc Note.. remember..we have set our VM bios in this way: bios: ovmf GFX need to be UEFI supported visit this link to understand other important stuff just in case: http://vfio.blogspot.fr/2014/08/does-my-graphics-card-rom-support-efi.html then to avoid some crashes add this line in kvm.conf: echo "options kvm ignore_msrs=1" > /etc/modprobe.d/kvm.conf also useful to avoid warning messages in your system log this: echo "options kvm ignore_msrs=1 report_ignored_msrs=0" > /etc/modprobe.d/kvm.conf as advice check always that command went fine in this way ie: for now this is an important step, now we have to access to our previously vm created and add "The passthrough" add PCI Device and choose your GFX: in my case it adds this: and this is enough 😉 to summarize..before rebooting check this files: grub.cfg blacklist.conf kvm.conf vfio.conf and see if all stuff is there. After reboot in your Threadripper you will see initial Proxmox VE Boot menu (blue one page) and the only two lines (loading stuff) If not check again all steps above. Remember some Mandatory parameter: 1) mce=off in grub 2) all conf files set properly for your system/GPU and so on 😛 If you see only those two lines..launch your vm in your Web interface or via terminal command : qm start 100 and see the log: this is good 🙂 (warning message disappear if you do no t use +pcid in VM conf boot args) this no 😛 Any different case could be possible... remember to check Proxmox wiki if some different problems appear! For now is enough..I will check this guide and if you find some incongruence fill free to declare. added 24-04-2020 The above GPU configuration is perfectly calibrate for my system and my Nvidia TitanXp GPU I have asked @Imanol to describe procedure for a different GPU (AMD 5700XT). He had success following this guide and now he is helping me to show you how he did with his Navi card. this is working in his system, maybe you have to adapt it for your system. ------- I'll share some tips to get the 5700XT GPU passthrough working. This can be helpful for other people using AMD GPUS. I had to do some extra things: The default GPU BIOS doesn't have UEFI enabled. Instead of updating the firmware, which is risky (or non existent tools) , you can download a ROM with UEFI support and let proxmox load/expose it when starting the VM. In my case I downloaded this rom (https://www.techpowerup.com/vgabios/212439/gigabyte-rx5700xt-8192-190616). You have to copy it to: /usr/share/kvm/5700xtcustom.rom and specify the ROM file in the GPU pcie passthrough line vm conf: hostpci1: 03:00,pcie=1,x-vga=1,romfile=5700xtref.rom Additionally, I had to enable some extra flags in clover or it didn't boot correctly. Make sure that you pass the agpmod=pikera boot argument. In graphics settings enable RadeonDeinit. Make sure that InjectATI is correctly disabled. If you are using clover configurator press the checkbox twice, otherwise it's enabled by default. I forgot to mention that to make my 5700XT passthrough work I needed to unbind some system drivers and framebuffers before launching the GPU. Just blacklisting the GPU drivers, enabling nomodeset in Grub or setting GRUB_GFXMODE_LINUX=text in grub didn't work for me. Those unbinds need to be done each time you restart the computer, before launching the VM. I automated it using the linux crontab utility. First open crontab config using this command in a proxmox terminal: crontab -e Add this line into the document and save it: @reboot /root/unbind.sh Create a script in the specified path: nano /root/unbind.sh Add those unbind command (Change 03:00 with the PCI address of your GPU): #!/bin/bash echo "0000:03:00.0" > /sys/bus/pci/drivers/vfio-pci/unbind echo 0 > /sys/class/vtconsole/vtcon0/bind echo efi-framebuffer.0 > /sys/bus/platform/drivers/efi-framebuffer/unbind Don't forget to set the correct permissions for the script after saving: chmod 755 /root/unbind.sh Now, each time you restart the computer proxmox will run this script and the guest mac VM will launch without any conflict. ------- Important stuff: macOS86.it is a free site and people here are helpful if tone remain in a calm way..Any different approach will not be tolerate . Now some kudos: to algrey and @Shaneee for their work to understand if there is a way to have this new chip booting in a real hack (for now not possible at all) best people here @Gengik84 to host this and solving many problem for us @Ciro82, @carlo_67 @iCanarofor their invaluable passion and help @tomnic who is corresponsible of this "success"..we can define this hack..."The first AMD Hack fast then ever" Have a nice life3 points
-
Prova ad aggiungere questo DSDT in patched. Avvia e rifai il log con keax. DSDT.aml.zip2 points
-
mm quindi il problema è a monte della mappatura se ti funzionano solo con usbinjectall è probabile che tu abbia errori acpi tali che non fanno caricare la tabella contenente le usb vai in download/script scarica e esegui KeaX posta il log che ti creerà sul desktop2 points
-
2 points
-
Version 1.0.18
366 downloads
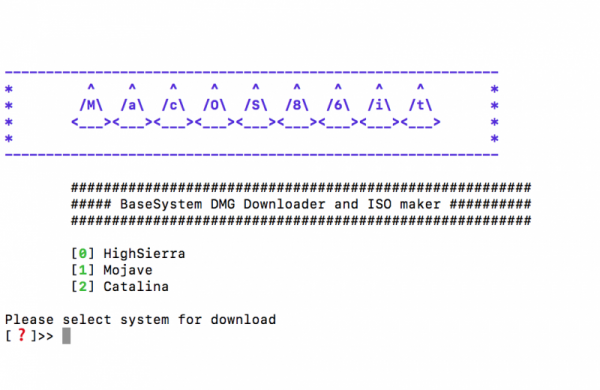
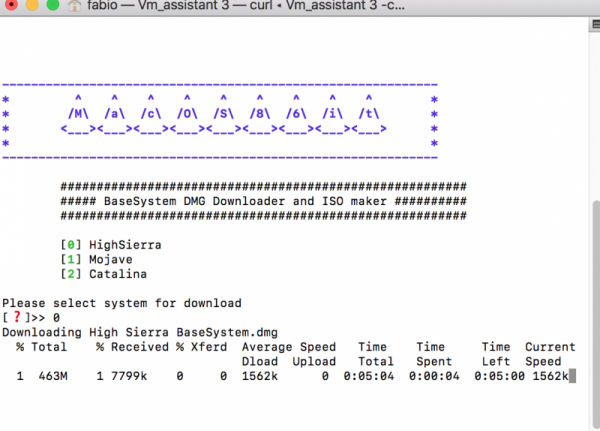
Script che scarica BaseSystem.dmg regolarmente dal catalogo Apple e una volta terminato crea una ISO. Utile per VM E' stato creato su richiesta e quindi per aiutare @fabiosun Attualmente supporta Catalina Mojave High Sierra In ultima Release disponibile. This script allows us to download from Apple catalog BaseSystem.dmg file, when this task is complete it create an ISO. Creation was done to simplify a process to download and install macOS on a VM created with Proxmox VE With 1.03 release is also possible to pass some terminal command to create a full installer iso if you have previously downloaded one from Apple Store or to download it directly (useful for a fast installation) It is also possible to download latest OSX (Big Sur) and a proper EFI to upload in Proxmox and to use to boot in all OSX system available1 point -
1 point
-
Version 1.1.0
272 downloads
Unico SSDT per abilitare il power management su varie serie Molto più utile per OpenCore Attualmente supporta e abilita il PM, indistintamente da Desktop o Laptop, su: Haswell Skylake Skylake-R Kabylake Kabylake-R Coffelake Whiskeylake Icelake Nota: per IvyBridge è consigliato usare ssdt_automator che crea un ssdt apposito basato sul lavoro di Piker Alpha Ringraziamento speciale al team ACPICA per tutte le loro preziose informazioni la versione decompilata (.dsl) è disponibile qui: https://github.com/macos86/OpenCore-Utility/blob/master/SSDT-PM-All.dsl1 point -
1 point
-
🤣🤣🤣Si interessante ero al buio mentre si avviava , il logo è veramente bello! Sono stato a fissarlo un pò.😂 Devo provare domani perchè ho un secondo SSD con sistema intonso che ho tolto oggi per mettere Windows su un secondo SSD per questioni di lavoro. Domani mattina provo e posto. Grazie1 point
-
senza boot-arg avvia? comunque "si blocca sulla mela".... interessante 😂1 point
-
Grazie @iCanaro spero di aver allegato correttamente senza file inutili. HackInfo_Report.zip EFI.zip1 point
-
1 point
-
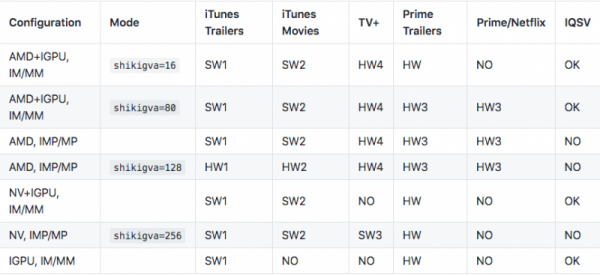
che model hai nel SMBIOS ? da questo link: https://github.com/acidanthera/WhateverGreen/blob/master/Manual/FAQ.Chart.md Io ad esempio uso iMacPro1,1 come model, ma non è adatto alla mia configurazione. Allo stesso tempo ho una CPU che non ha GPU integrata, quindi ho lo stesso problema tuo. In videoproc mi si accendono solo intel e cpu. Per ora non indagherò oltre perché ho deciso di fare un upgrade della CPU e di prenderne una con iGPU. Quando arriverà, sceglierò la seconda configurazione con model iMac18,3 nel SMBIOS1 point
-
Buono rimane con questa configurazione @iCanaro aveva lavorato bene, solo nel tuo caso avevi problemi ben a monte della mappatura curiosità: bios aggiornato? e configurato a modo?1 point
-
1 point
-
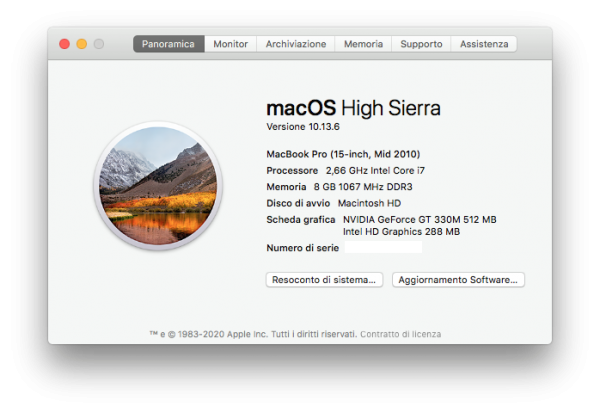
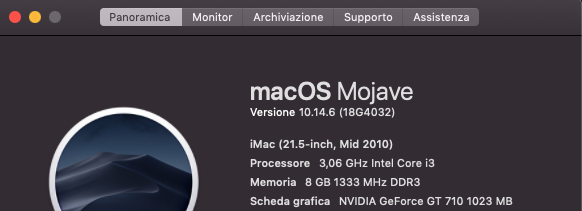
Ahahahah è che ormai il legacy 32bit lo chiamano un po' come gli pare, mi sono confuso. In questi giorni di ferie forzate sto spaziando da MacOS a Debian a Windows. Non sono però sul mio Hack ma su questa vecchia gloria: che non è un missile, per quanto il suo lo fa molto dignitosamente per avere quasi 10 anni! Da qui il "bisogno" di velocizzare ecco. Mi sto divertendo a fare "pull" a ogni commit, è interessante il processo di sviluppo e testing in Travis CI. PS: Ho visto i ringraziamenti su SSDT-PLUG.dsl 😉 K.1 point
-
1 point
-
1 point
-
1 point
-
1 point
-
Ciao, con le patch per portlimit ma senza usbinjectall, le porte funzionano? quando dici che non ti funzionano nessuna, ne sei sicuro? ti chiedo questo perchè potrebbe essere utile un log ma ovviamente almeno una usb dovrebbe funzionarti per poterlo fare1 point
-
Ciao, il rename porta spesso ad avere *buscontroller e *acpiEC entrambi caricati sotto unico device, quindi non è il massimo anche perchè di fatto acpiec è strettamente legato a acpi di un vero mac che di fatto in hack non abbiamo. Per ovvie ragioni nei portatili non può essere evitato disattivando la relativa e originale "parte", perchè comporterebbe problematiche come per esempio il non funzionamento della batteria. Nei desktop a differenza è possibile farlo, quindi è bene non avere in hack acpiec caricato, facendo in modo però venga caricato buscontroller che diciamo riguarda tra virgolette un certo pm.. delle usb etc.., usando un nuovo device con stesso nome originale (EC). Device "semplice" che non ha "dichiarazioni" forzate e quindi non idonee. con questo mi riferisco a operatioregion etc... un esempio stupido sarebbe come se uno copi/incolla il tutto da parti acpi di un vero mac su acpi usate in hack. Tutta la parte aggiunta di fatto è stata fatta esplicitamente per un determinato hardware che non è il nostro nello specifico. il nuovo device semplice invece oltre a permettere il caricamento citato sopra lascia al sistema gestire il resto e di conseguenza risulta più mirato e idoneo il tutto per l'hardware stesso. acpiEC come è stato ridetto, anche per esempio da vit9696 può portare a vari problemi e instabilità. oltre a questo sembra che in caso dove non può essere evitata questa determinata situazione, sia meglio comunque non avere entrambi i caricamenti sotto un unico device.1 point
-
1 point
-
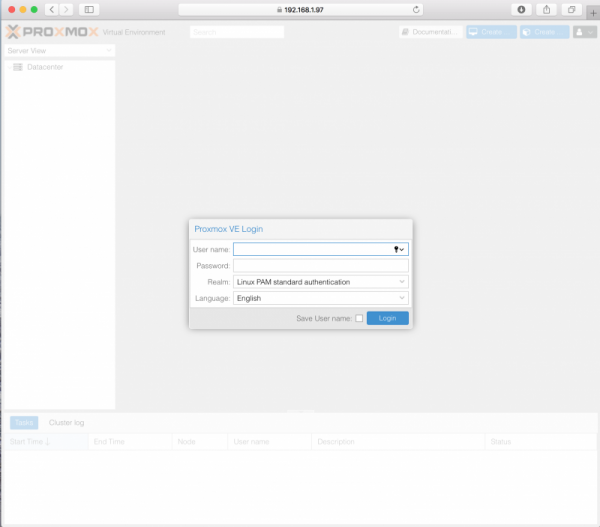
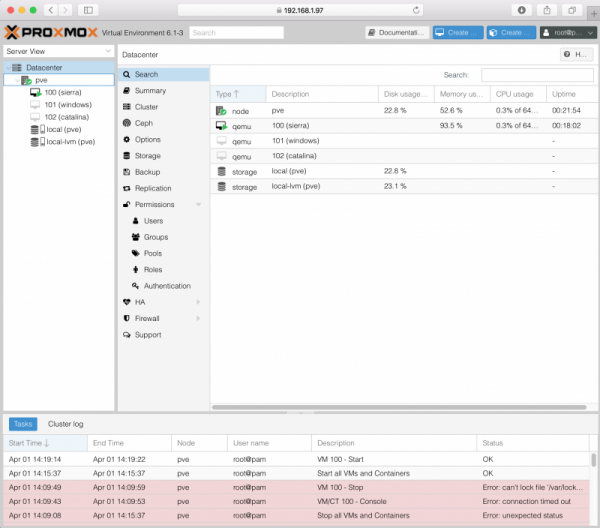
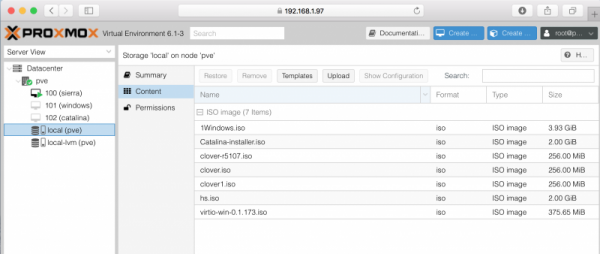
Now, with our Threadripper PC on we have to use another pc or tablet (also phone) connected in the same network, cable or wi-fi is fine Open your browser and digit the address noted above and you will see Proxmox web interface login mask: For the VM configuration part we will spend some time here Login with user name root and password your previously inserted password and you will see: Proxmox has a main subscription way to have a more business support, you can click simply on ok to go on. This is the main page. You can see I have configured 3 VMs and now we start to configure new one. you should have this page empty only pve node and local and local-lvm voices See on the storage 'local' pn node "pve" the upload button. This is the place where we upload things useful like OSX installer or clover iso to use in installation process. We need of new shining script made by @Gengik84 for macOs86.it users to simplify some process, you can reach similar result using other script but this is very simple to use. So download VM assistant from and execute it: choose system you want to install (you need an internet connection for all this process and also for the installation) In my case HighSierra. choose 0 VM Assistant terminal options: ------------------------------------------------------------- Usage: Show this help page: /Users/fabio/Desktop/VM_Assistant-2 -h ------------------------------------------------------------- Download latest clover for VM: /Users/fabio/Desktop/VM_Assistant-2 -dc or /Users/fabio/Desktop/VM_Assistant-2 --downloadclover ------------------------------------------------------------- Convert Installer.app to ISO: /Users/fabio/Desktop/VM_Assistant-2 -cti or /Users/fabio/Desktop/VM_Assistant-2 --apptoiso ------------------------------------------------------------- Download Catalina full Installer: /Users/fabio/Desktop/VM_Assistant-2 -dcata or /Users/fabio/Desktop/VM_Assistant-2 --downloadcatalina ------------------------------------------------------------- Download Mojave full Installer: /Users/fabio/Desktop/VM_Assistant-2 -dmoja or /Users/fabio/Desktop/VM_Assistant-2 --downloadmojave ------------------------------------------------------------- Download HighSierra full Installer: /Users/fabio/Desktop/VM_Assistant-2 -dhs or /Users/fabio/Desktop/VM_Assistant-2 --downloadhighsierra ------------------------------------------------------------- when all is done you can find on your desktop a new folder named Apple_DMG with inside: 10_13 folder, hs.iso and clover1.iso files (their name could be different). You can now upload them via web interface pressing upload button. In this place you have to upload all iso useful to create a VM (also windows.iso or other linux iso if your goal is to instal others system) Osx needs of clover1.iso and hs.iso (boot loader and Osx installer), nothing else!1 point
-
1 point
-
1 point
-
1 point
-
0 points
-
Ehm... E' un MBP vero 😂 Non sono così bravo, a malapena funge l'hack in firma, con OC 😅 K.0 points
-
0 points


