Leaderboard
Popular Content
Showing content with the highest reputation on 04/01/2020 in all areas
-
Version 1.0.18
366 downloads
Script che scarica BaseSystem.dmg regolarmente dal catalogo Apple e una volta terminato crea una ISO. Utile per VM E' stato creato su richiesta e quindi per aiutare @fabiosun Attualmente supporta Catalina Mojave High Sierra In ultima Release disponibile. This script allows us to download from Apple catalog BaseSystem.dmg file, when this task is complete it create an ISO. Creation was done to simplify a process to download and install macOS on a VM created with Proxmox VE With 1.03 release is also possible to pass some terminal command to create a full installer iso if you have previously downloaded one from Apple Store or to download it directly (useful for a fast installation) It is also possible to download latest OSX (Big Sur) and a proper EFI to upload in Proxmox and to use to boot in all OSX system available3 points -
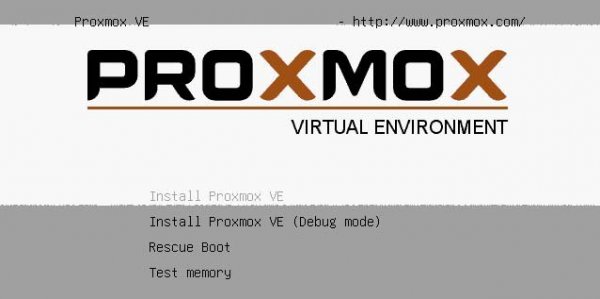
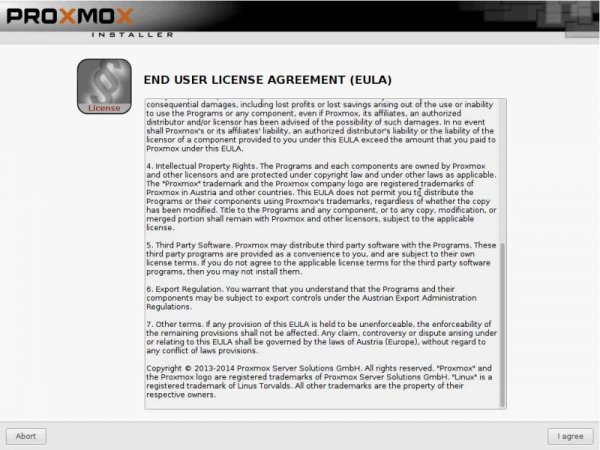
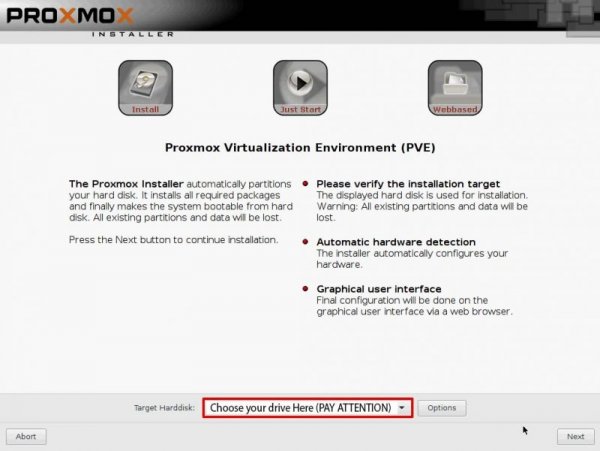
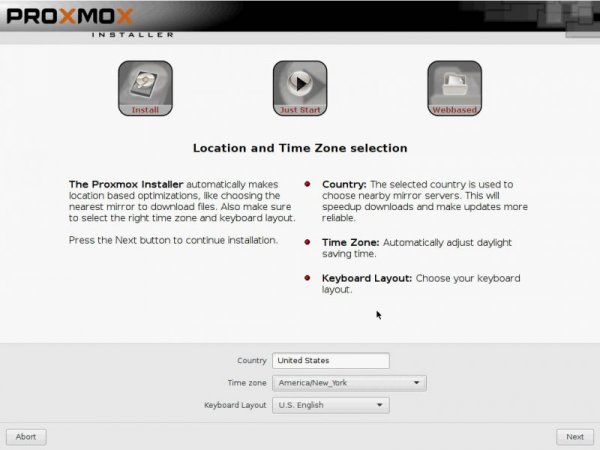
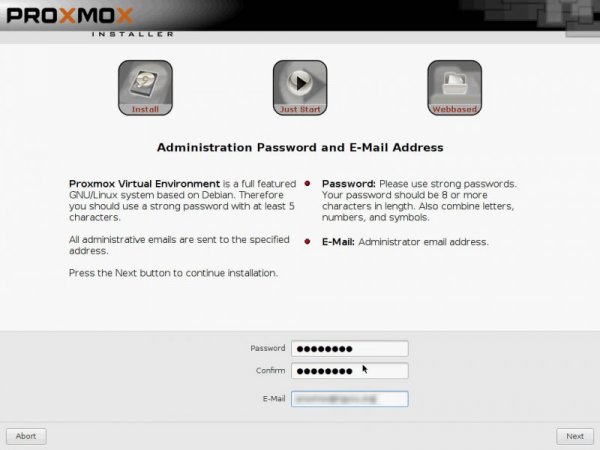
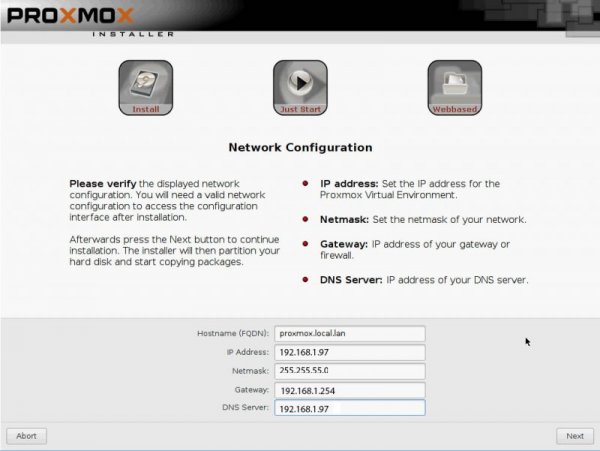
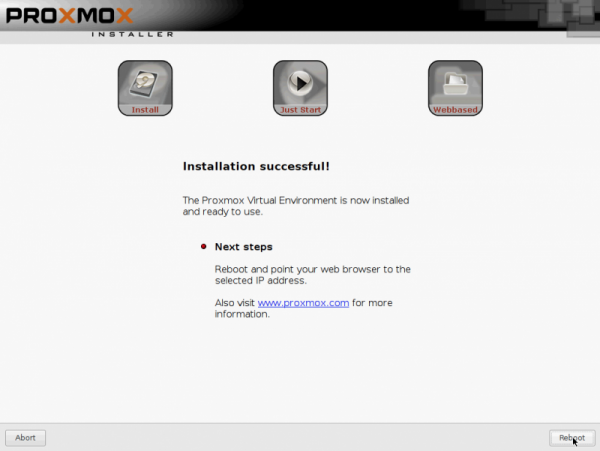
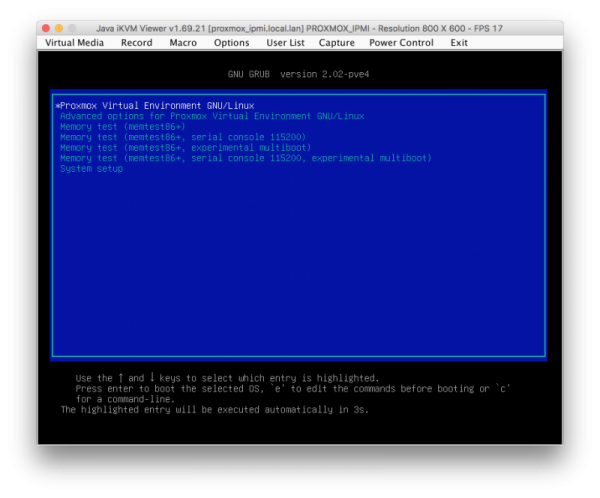
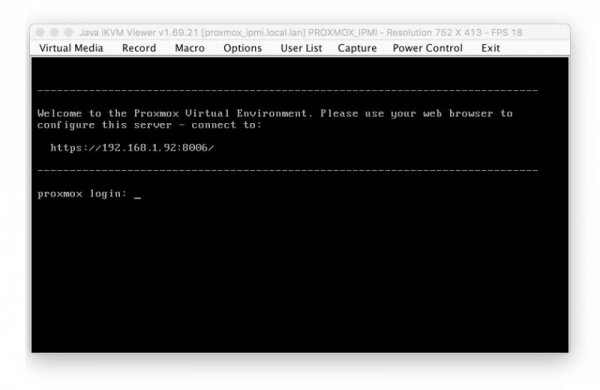
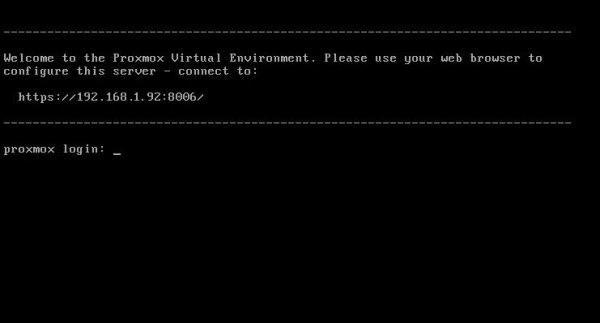
Preface: Inspired by the lack of patches for this new ThreadRipper CPU series , I have started to find a way to have "the fast Amd hack ever". Hard task was to setup a pretty bare machine inside an OSX linux vm. Many solutions were evaluated to reach this important goal. Ubuntu, CentOS, UnRaid and so on Tested many VM and found many interesting stuff on the net. Kholia's or foxlet's GitHub guide for example or nicksherlock's guide more Proxmox like. With these guide is possible to start our job and to have a working OSX..but I need more! 😉 I want to use my single Nvidia Gpu on it and for it I need a different approach. Single GPU usually is a pain because when we passthrough* it to the guest PC..we will loose it. So, we have to use another PC to connect in it or a simple Android or iOS tablet (now I am use my iPhone for this task 🙂 ) So, after some days of brainstorming with @tomnic we choose to start with Proxmox VE. It seemed the most flexible linux distro to reach my goal. macOS High Sierra and Nvidia web driver installed with no compromise. Proxmox Ve allows to build a bare metal system with Gpu passthrough, and, most important thing it has a web interface to control guest PC * Passthrough is a technique to "pass" hardware to a virtual machine loosing only a minimal part of hardware performance More difficult and critical task is passthrough our hardware to VM in a way which will allow me to have a pretty similar performance as a real hack and overall to have GPU at its best in this system. Prequisites: A minimal linux experience (I have had no idea before about linux and this was the main difficulty for me) To know what to search usefull for my need! A OSX, linux or windows system to collect some files (I have used used linux and OSX, with latest one preferred. System configured is in my signature, summarized here: MSI Trx40 10G Pro AMD 3970x Threadripper 32 cores / 64 threads (this guide is also useful for 3960x and maybe for 3990x (capping cores not supported by OSX kernel) 1Tb Nvme Sabrent and so on... Let's start! Mandatory Elements: 0) Proxmox VE (Proxmox Ve's wiki link) 1) a working OSX. Linux, Windows ( in this guide we use OSX High Sierra 10.13.6 2) download Vm_assistant's script, an exclusive script by macOS86.it and @Gengik84 VM assistant From this link a simple guide: Promox VE installation procedure: In this guide I will not do a detailed guide to install this linux release, you can find useful information on: link to Proxmox link to iso installer Use your favorite Iso installer to produce a bootable USB pen drive (8gb or more is fine) In this guide I have used Balena Etcher: link Balena Etcher Warning for initial installation part! * Due a problem with new TRX40 motherboard , ProxMox 6.1 and lower will hang on early booting stage. To avoid this you have to modify grub.cfg file in this way: find this line: linux /boot/vmlinuz-5.3.10-1-pve root=/dev/mapper/pve-root ro quiet with this linux /boot/vmlinuz-5.3.10-1-pve root=/dev/mapper/pve-root ro quiet mce=off adding mce=off allows us to start this exciting journey.... Alternatively you can modify this line directly on boot menu selection before selecting your choice (press E and add mce=off as shown before) thanks @KTC for pointing me in the right direction * this problem could be resolved with a future Proxmox update SOLVED in Proxmox 6.1-3 and greater step 1: boot from your ProxMox Ve USB pen drive, you will have: select Install Proxmox VE and then follow indication you can see below. Note Fill your network data with your (setup should do it for you except for Domain and your email) Installation is done! 😛 Reboot and choose your usb pen drive and boot from it. In a few second you will see: Now pay attention..if you have not modified grub.cfg...you MUST do it now pressing E on keyboard and adding manually mce=off as previously shown. You have also to remember to do it permanently when we start in Proxmox VE first time. At login user is root password (your previous choice during Proxmox installation) now it is possible to be a bit worried..if you are (as I was) not confident with linux command)..but I will try to stay more simple I can. Start to find googling how to read or to modify some files in linux (text configuration file I mean). I have used nano command..you can also use vim or similar command. Now, take note of link you can see in this picture: https://192.16.1.92:8006 (yours could be different) and the magic starts : )3 points
-
2 points
-
2 points
-
2 points
-
2 points
-
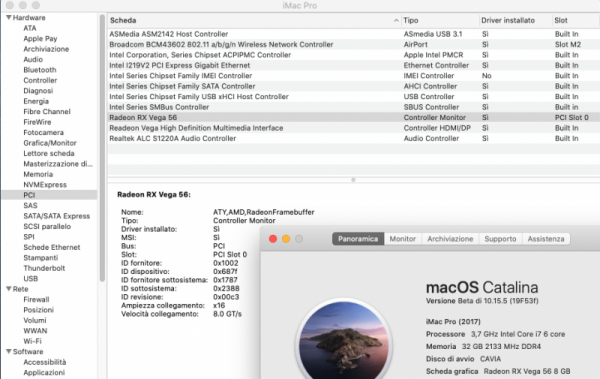
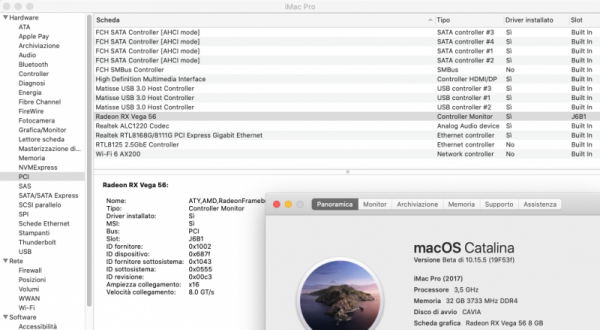
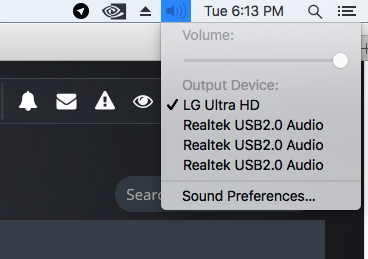
Grazie @Gengik84 abbiamo anche audio perfetto in DP 🙂 lo avremmo avuto già da qualche giorno..ma ho dovuto lavorare lato linux... evviva..ora manca solo la scheda interna e poi e un hack vero ....e...Fast AMD hack ever Ringrazio tutti voi per l'aiuto..in particolare in ordine alfabetico 🙂 @carlo_67 @Ciro82 @Gengik84 @iCanaro @KTC @lore3333 @netgear @tomnic e anche grazie a Teresa..che mi ha fatto rosicare e stimolato a studiare il come fare 🙂2 points
-
1 point
-
Ciao a tutti ragazzi, sono nuovo del forum, ho deciso di iscrivermi perché c'è una bella community....1 point
-
Grazie mille per le spiegazioni e per la pazienza @Gengik84, prossimo passo mappatura USB allora e lascio perdere qualsiasi aggiornamento 😉 . Vado a studiare la tua guida! Buona serata, ciao!1 point
-
se dico di guardare sulla home di macos86.it sulla destra vi sono i link diretti poi in alto sulla barra del forum vi è links utili su aprire quegli occhiucci, non è il primo giorno1 point
-
foskvs ti ha consigliato di provare anche le release stable dei kext a cui arrivi partendo dalla home del sito puoi sempre mettere -igfxvesa per arrivare al desktop1 point
-
Perfetto @Gengik84. Per quanto riguarda la questione delle USB purtroppo @thepickboy ha le porte USB definite nel DSDT, tra cui quella del Bluetooth. Ti terrò aggiornato 🙂1 point
-
1 point
-
1 point
-
allora, adesso che hai un sistema pulito, procedi pure, come ti ha detto foskvs, metti applealc e prova i vari layout del tuo codec Realtek ALC668 layout 3, 20, 27, 28, 291 point
-
Manca un kext per l'audio. Se vuoi usare AppleALC, lo devi mettere nella EFI.1 point
-
Si , funziona tutto! grazie!! Rimane il problema con il programma della logtitech, ma secondo me e' un problema suo. Vediamo con il prossimo update se cambia qualcosa. In ogni caso la tastiera mantiene la mappatura dei tasti. Se devo fare modifiche comunque riesco a farlo partire. Ancora grazie!1 point
-
1 point
-
a questo punto, di sicuro, male non gli farebbe1 point
-
PM = power management ssdt hack senza PM richiede che sia flaggato nel config plugintype ssdt hack con PM, plugintype non vuole flaggato alla fine il risultato finale sarà sempre il medesimo.. visto va tutto bene, fai backup EFI e non toccare niente1 point
-
provato non molto a lungo (15min circa) il config-1D. sembra finalmente perfetto: audio HDMI funzionante, nessun lampo, entrambe le gpu riconosciute. grazie mille!!! mi riservo di scrivere ancora nel caso uscisse fuori qualche "lampo" a lungo termine. ho una domanda riguardo ssdt hack: qual è la differenza tra quello con PM e quello senza (che uso adesso)? non so neanche cosa sia il PM, se devo essere onesto.1 point
-
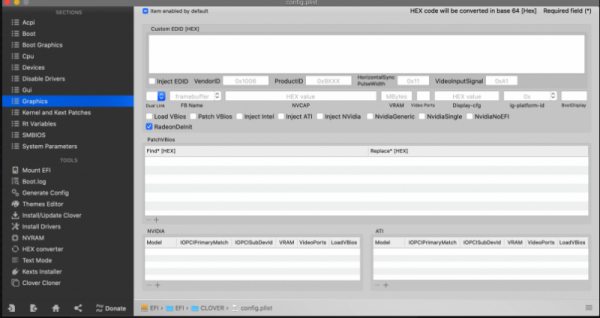
ok ,ho rimosso appleIntelE1000 e flaggato plugintype, ripulito graphics e clover..... )) riavvio!1 point
-
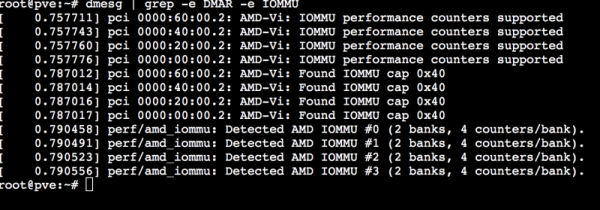
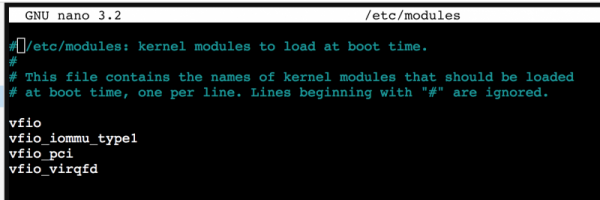
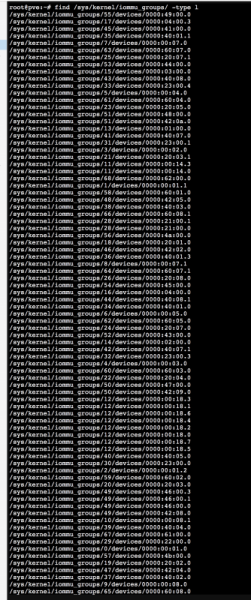
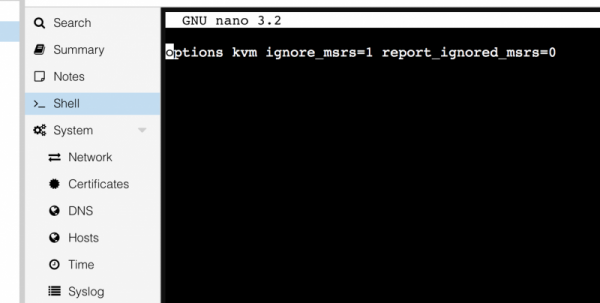
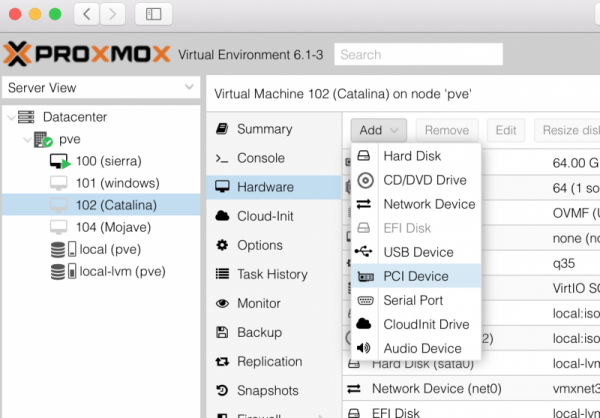
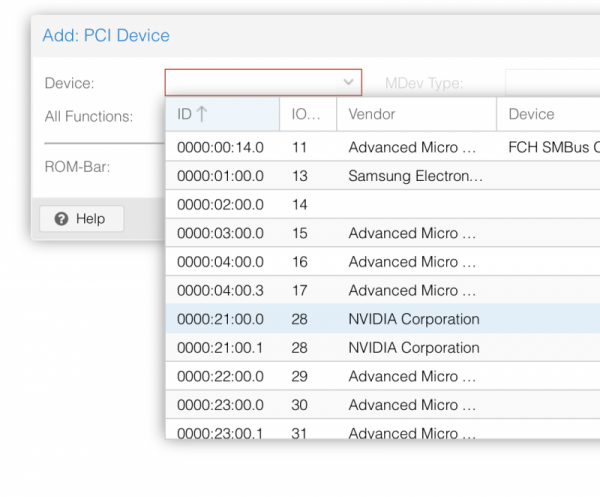
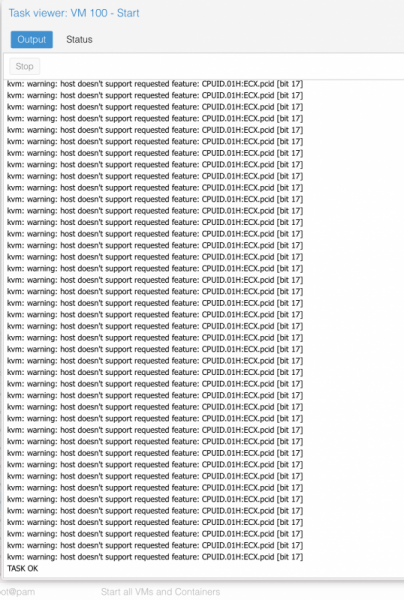
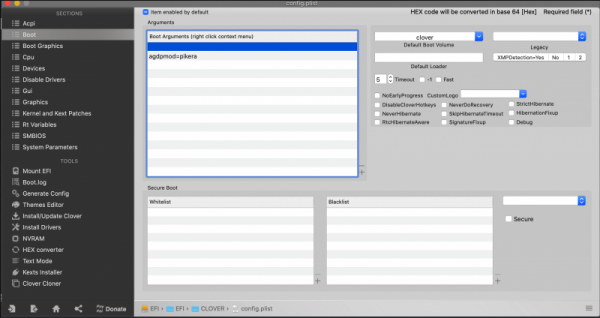
Useful link. Proxmox wiki In this site you can find a tons of useful informations. So read it to clear doubts you can have. Now some useful informations to start thinking to PCI Passthrough. from Proxmod wiki site: Modify grub for your cpu: first step enable the IOMMU. to do this open a shell from Your Proxmox's web interface: type nano /etc/default/grub insert in it "amd_iommu=on" without quote as you see here: ctrl x then Y to save then do not launch upgrade-grub but pve-efiboot-tool refresh then reboot, to verify all is fine, open shell again and type: dmesg | grep -e DMAR -e IOMMU you have a pretty similar output if all is fine..otherwise repeat step above: you can add also iommu=pt to improve some performances in PCI device not in use by your VM. Now another very important part. We need some modules to load, by default they are not loaded: type: nano /etc/modules and add these modules: "Verify also IOMMU isolation (follow Proxmox wiki just in case) (follow my situation which may differ from your)" "To have separate IOMMU groups, your processor needs to have support for a feature called ACS (Access Control Services)." now the tricky thing: Determinate your GPU address: in shell type: lspci and check for your graphic card address: this is my GFX address, then type: lspci -n -s 21:00 you will see: root@pve:~# lspci -n -s 21:00 21:00.0 0300: 10de:1b02 (rev a1) 21:00.1 0403: 10de:10ef (rev a1) root@pve:~# Create a file in etc/modprobe.d/ named vfio.conf: echo "options vfio-pci ids=10de:1b02,10de:10ef" > /etc/modprobe.d/vfio.conf and add on it: options vfio-pci ids=10de:1b02,10de:10ef disable_vga=1 (ctrl x then y) then you have to blacklist the drivers.. PAY ATTENTION and save it , when you reboot after this step it could be possible to have to operate exclusively from Web Pc interface: so type: echo "blacklist radeon" >> /etc/modprobe.d/blacklist.conf echo "blacklist nouveau" >> /etc/modprobe.d/blacklist.conf echo "blacklist nvidia" >> /etc/modprobe.d/blacklist.conf reboot your pc Note.. remember..we have set our VM bios in this way: bios: ovmf GFX need to be UEFI supported visit this link to understand other important stuff just in case: http://vfio.blogspot.fr/2014/08/does-my-graphics-card-rom-support-efi.html then to avoid some crashes add this line in kvm.conf: echo "options kvm ignore_msrs=1" > /etc/modprobe.d/kvm.conf also useful to avoid warning messages in your system log this: echo "options kvm ignore_msrs=1 report_ignored_msrs=0" > /etc/modprobe.d/kvm.conf as advice check always that command went fine in this way ie: for now this is an important step, now we have to access to our previously vm created and add "The passthrough" add PCI Device and choose your GFX: in my case it adds this: and this is enough 😉 to summarize..before rebooting check this files: grub.cfg blacklist.conf kvm.conf vfio.conf and see if all stuff is there. After reboot in your Threadripper you will see initial Proxmox VE Boot menu (blue one page) and the only two lines (loading stuff) If not check again all steps above. Remember some Mandatory parameter: 1) mce=off in grub 2) all conf files set properly for your system/GPU and so on 😛 If you see only those two lines..launch your vm in your Web interface or via terminal command : qm start 100 and see the log: this is good 🙂 (warning message disappear if you do no t use +pcid in VM conf boot args) this no 😛 Any different case could be possible... remember to check Proxmox wiki if some different problems appear! For now is enough..I will check this guide and if you find some incongruence fill free to declare. added 24-04-2020 The above GPU configuration is perfectly calibrate for my system and my Nvidia TitanXp GPU I have asked @Imanol to describe procedure for a different GPU (AMD 5700XT). He had success following this guide and now he is helping me to show you how he did with his Navi card. this is working in his system, maybe you have to adapt it for your system. ------- I'll share some tips to get the 5700XT GPU passthrough working. This can be helpful for other people using AMD GPUS. I had to do some extra things: The default GPU BIOS doesn't have UEFI enabled. Instead of updating the firmware, which is risky (or non existent tools) , you can download a ROM with UEFI support and let proxmox load/expose it when starting the VM. In my case I downloaded this rom (https://www.techpowerup.com/vgabios/212439/gigabyte-rx5700xt-8192-190616). You have to copy it to: /usr/share/kvm/5700xtcustom.rom and specify the ROM file in the GPU pcie passthrough line vm conf: hostpci1: 03:00,pcie=1,x-vga=1,romfile=5700xtref.rom Additionally, I had to enable some extra flags in clover or it didn't boot correctly. Make sure that you pass the agpmod=pikera boot argument. In graphics settings enable RadeonDeinit. Make sure that InjectATI is correctly disabled. If you are using clover configurator press the checkbox twice, otherwise it's enabled by default. I forgot to mention that to make my 5700XT passthrough work I needed to unbind some system drivers and framebuffers before launching the GPU. Just blacklisting the GPU drivers, enabling nomodeset in Grub or setting GRUB_GFXMODE_LINUX=text in grub didn't work for me. Those unbinds need to be done each time you restart the computer, before launching the VM. I automated it using the linux crontab utility. First open crontab config using this command in a proxmox terminal: crontab -e Add this line into the document and save it: @reboot /root/unbind.sh Create a script in the specified path: nano /root/unbind.sh Add those unbind command (Change 03:00 with the PCI address of your GPU): #!/bin/bash echo "0000:03:00.0" > /sys/bus/pci/drivers/vfio-pci/unbind echo 0 > /sys/class/vtconsole/vtcon0/bind echo efi-framebuffer.0 > /sys/bus/platform/drivers/efi-framebuffer/unbind Don't forget to set the correct permissions for the script after saving: chmod 755 /root/unbind.sh Now, each time you restart the computer proxmox will run this script and the guest mac VM will launch without any conflict. ------- Important stuff: macOS86.it is a free site and people here are helpful if tone remain in a calm way..Any different approach will not be tolerate . Now some kudos: to algrey and @Shaneee for their work to understand if there is a way to have this new chip booting in a real hack (for now not possible at all) best people here @Gengik84 to host this and solving many problem for us @Ciro82, @carlo_67 @iCanarofor their invaluable passion and help @tomnic who is corresponsible of this "success"..we can define this hack..."The first AMD Hack fast then ever" Have a nice life1 point
-
1 point
-
@rcurle hai molte cose non configurate come in primis il PM quindi intanto metti il fix sul config su plugintype la tua Lan è atheros quindi rimuovi AppleIntelE1000e.kext che non ti serve Riguardo alla Rx580 anche se non la usi, ti basta WEG, quindi non c'è bisogno di mettere assolutamente nulla sul config nella parte grafica oltre a questo ti consiglio si seguire il topic "ssdt x hack"1 point
-
1-21, 27-33, 35, 40, 45, 55, 58, 66, 76, 88, 93, 99, 100, 127, 1881 point
-
1 point
-
1 point
-
1 point
-
ok, testato più a lungo sia 1B che 1C. *con entrambi NON ho riscontrato "lampi" *con entrambi funziona l'anteprima dei jpeg *con entrambi NON funziona audio HDMI *1B riconosce entrambe le schede video: su "about this mac" mostra la igpu con un quantitativo di RAM differente (2GB). Su videoproc mi da la GT710 come principale. l *1C non riconosce la GT710: sia su "about this mac" che su videoproc ho soltanto la igpu. *quicksync comunque attivo su entrambi. no, ho solo 1 TV collegata all'integrata. prima di attivare quicksync era sempre la stessa sola TV però collegata alla nvidia.1 point
-
Prova i programmi di benchmark. Per l’audio, devi provare un layout-id supportato dal tuo codec.1 point
-
@foskvs infatti ho seguito consiglio @iCanaro ho provato senza e va lo stesso. grazie mille1 point
-
Allora puoi togliere i kext per il Bluetooth. Dovrebbe essere nativa.1 point
-
1 point
-
OK avviato regolarmente. Allego ioreg in caso ti serva per analisi... a me pare OK la situazione iMac-Z68_catalina_new_DSDT.ioreg.zip1 point
-
@iCanaro e @Fasullo andata eseguito in due minuti. GraZie.buona giornata1 point
-
1 point
-
1 point
-
dal clover postato pare tutto a posto, ma devi fare nuovamente alcune cose: - mettere il modello notebook in firma - estrarre ACPI - DUMP codec audio - eseguire hack_info - postare screenshots di PCIList e Status di DPCIManager1 point
-
sostituisci la cartella clover che hai nella EFI se si blocca posta il blocco1 point
-
1 point
-
mce=off e' stata una salvata 🙂 aggiunto nell'ordine dei ringraziamenti.. Non e' corretto? 😛1 point
-
Mi fa piacere che la dritta che ti avevo dato alla fine ha funzionato1 point
-
Grazie di cuore @Gengik84! Non so cosa tua abbia fatto ma ora sono magicamente nella schermata di installazione di Catalina! Ti aggiorno non appena va tutto (spero) a buon fine 😉1 point
-
1 point
-
@Andrea2107 non se tu abbia risolto o meno con le prove che ti ho consigliato. Fatto sta che potresti fare un ultimo tentativo con smbios 19,2 e mettere 0x3E9B0007 come igplatform, però facendo gestire l'immagine video dall'integrata inserendo il cavo DisplayPort sulla tua mobo (dovrebbero risolversi i glitch e i problemi con cubase), ovviamente nel bios abilita igpumultimonitor e metti primari display su igpu. quando sei nel desktop verifica che le due schede non vadano in conflitto, testando con final cut (Bruce x test), videoproc e geek bench se ci sono glitch, ritardi o riavvii (sarebbe un pezzato se non utilizzassi la potenza grafica della 5700xt). detto ciò incrociamo le dite1 point
-
1 point
-
Guarda posso consigliarti di non andare su XFX, che in generale proprio sono quelle che se capita danno problemi, oltre al fatto che forse sono anche un po' più scadenti a partire anche dalla confezione etc..0 points
-
aggiunto 1D a parer mio dovrebbe essere quello più idoneo, vediamo per audio HDMI che se non va, devo chiedere aiuto a gengik, che non ne capisco il motivo perché non si attiva 😛 config-1D.plist.zip0 points


