

tomnic
-
Posts
1,090 -
Joined
-
Last visited
-
Days Won
45
Content Type
Profiles
Forums
Events
Downloads
Posts posted by tomnic
-
-
Hi, did anybody succeed to run Sky Go with SIP disabled?
-
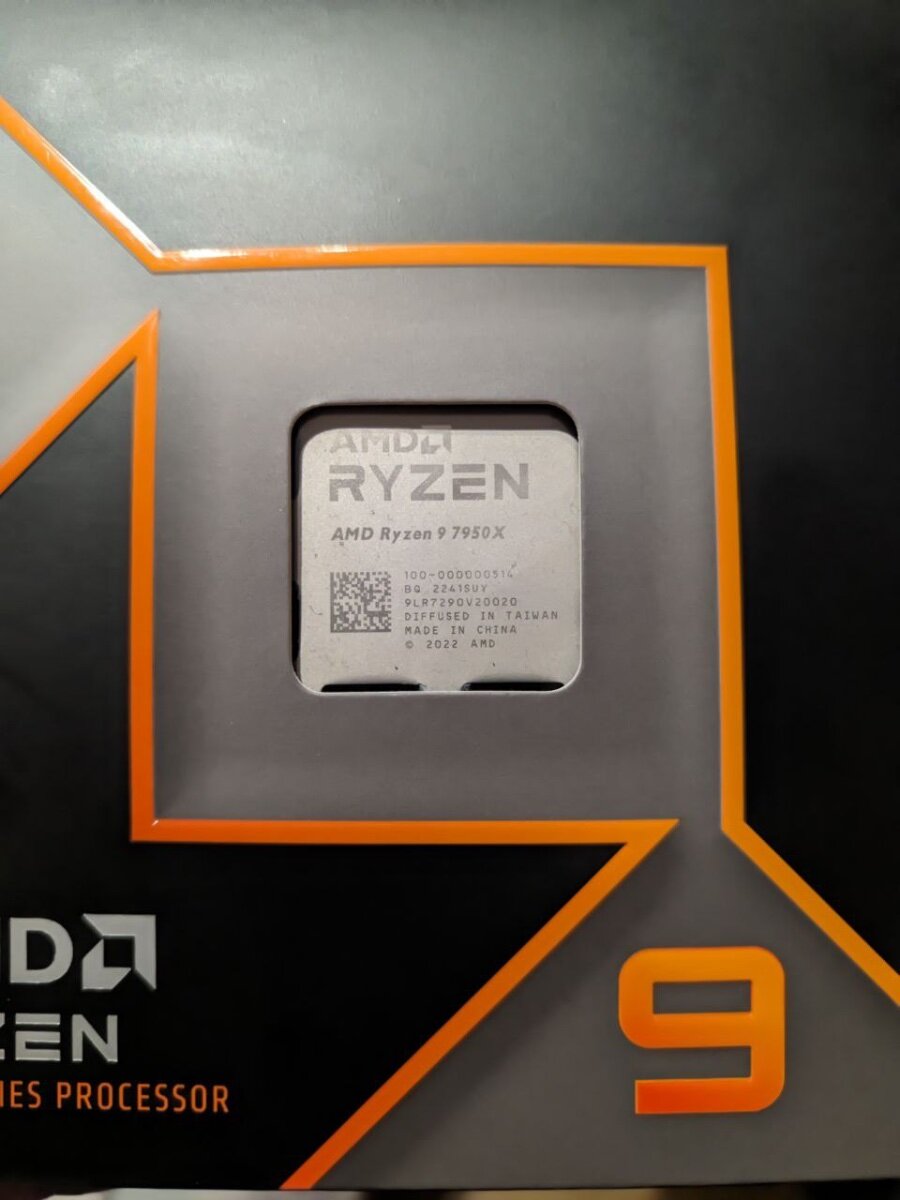
Come da titolo vendo CPU AMD Ryzen 7950x Socket AM5 con Box di cartone e blister in plastica del mio nuovo 9950x (cambia solo l'etichetta esterna del box).
Eur 390,00 + spedizione o ritiro a mano zona Perugia. Dissipatore non incluso. Ovviamente usato ma in perfette condizioni e perfettamente funzionante.

-
Con la beta4 Parsec su Poraccio ha ricominciato a funzionareeee correttamenteeeee Hallelujaaaa Hallelujaaaaaaaa
-
 1
1
-
 1
1
-
-
Su Poraccio tutto ok con OC 1.0.3, resta il problema di Parsec... sigh
-
Problema con Parsec quando accedo a Poraccio, che ha la Vega 64: nessuna icona sul desktop né menu, tutto corretto con rustdesk... attendiamo fix ufficiali
-
 1
1
-
-
Ottimo lavoro! X58 è immortale ehehehehe
-
 1
1
-
-
Ho un portatile molto simile con questa situazione, layout id 27, allego config, sto su Monterey
-
Lo scrivo anche qua allora: disabilita BlueToolFixup e Restrictevents (se mai dovessi usarlo, ad ora non lo vedo nella tua EFI), poi dovrai anche aggiornare il kext della Wifi
-
On 11/5/2024 at 12:24 PM, fabiosun said:
Poraccio con una Vega pero' 🙂
La Vega 64 va una bomba con le HBM2 ^^ La parte più figa di Poraccio
-
 1
1
-
-
Poraccio sempre sul pezzo, irriducibile!
-
1
-
2
-
-
Devo essere strasincero: non ho capito veramente il tuo problema, non hai accelerazione? o ce l'hai ma vuoi disattivare degli effetti 3d che ti danno fastidio? A me pare tutto ok, bo!
-
Con clover basta che cancelli WhateverGreen.kext e metti NootRX.kext, ma devi prima aggiornare Clover, e ci sono comunque pezzi di OpenCore.
Dicci se va, dubito ma potrebbe funzionare
-
1
-
-
Devi aspettare che aggiornino OCLP
-
1
-
-
-
Prova con questo programma: TinkerTool: Screenshots
O con questi comandi:
defaults write -g NSScrollViewRubberbanding -int 0 defaults write -g NSAutomaticWindowAnimationsEnabled -bool false defaults write -g NSScrollAnimationEnabled -bool false defaults write -g NSWindowResizeTime -float 0.001 defaults write -g QLPanelAnimationDuration -float 0 defaults write -g NSScrollViewRubberbanding -bool false defaults write -g NSDocumentRevisionsWindowTransformAnimation -bool false defaults write -g NSToolbarFullScreenAnimationDuration -float 0 defaults write -g NSBrowserColumnAnimationSpeedMultiplier -float 0 defaults write com.apple.dock autohide-time-modifier -float 0 defaults write com.apple.dock autohide-delay -float 0 defaults write com.apple.dock expose-animation-duration -float 0 defaults write com.apple.dock springboard-show-duration -float 0 defaults write com.apple.dock springboard-hide-duration -float 0 defaults write com.apple.dock springboard-page-duration -float 0 defaults write com.apple.finder DisableAllAnimations -bool true defaults write com.apple.Mail DisableSendAnimations -bool true defaults write com.apple.Mail DisableReplyAnimations -bool true defaults write NSGlobalDomain NSWindowResizeTime .001 defaults write com.apple.dock expose-animation-duration -int 0; killall Dock defaults write com.apple.dock expose-animation-duration -float 0.1; killall Dock-
1
-
1
-
-
Controlla anche se il bios è aggiornato e semmai aggiornalo
-
Puoi anche provare a togliere i file ACPI uno ad uno e/o le varie patch ACPI
-
-
EFI-OC-AtermiterX99H-E5-2670v3-RX6600/EFI VirtualSMC at main · atanasopulo/EFI-OC-AtermiterX99H-E5-2670v3-RX6600 · GitHub prova a partire da questa ma togli sia CryptexFixup che CPUTscSync dai kext, assolutamente inutili, assieme a VoodooPS2Controller e tutta la parte relativa al Bluetooth (deve aver pasticciato con un portatile il tipo prima di postarla). Ora non sono nella possibilità di modificartela io.
E rimetti -v tra i bootflag sennò non vediamo se vai oltre il panic
-
1
-
-
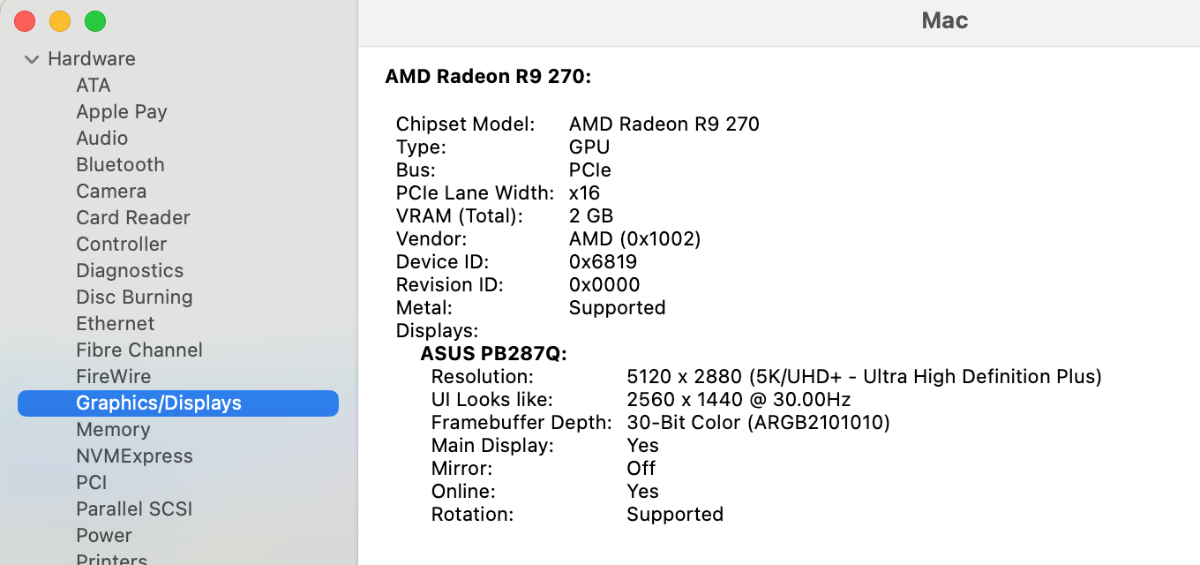
On 11/26/2023 at 8:57 AM, jsl2000 said:
My FX-6300 hackintosh can boot Sonoma 14.2 beta3 by legacy OpenCore 0.9.5 with ProvideCurrentCpuInfo quirk enabled without red screen panic or blank screen issue now after its GPU RX-560 replaced by R9 270 and config.plist modified.
My config-OC-M5A.plist is attached for your reference.
I've a similar system, I'll try!!! Great result indeed!!!
-
Molto bello, una domanda impertinente: ma il touch a schermo funziona solo a tocco singolo o multitouch? Se multitouch come hai risolto?
Ho troppi pc anche io da piazzare sennò sarebbe stato interessantissimo da avere. Up per te!
-
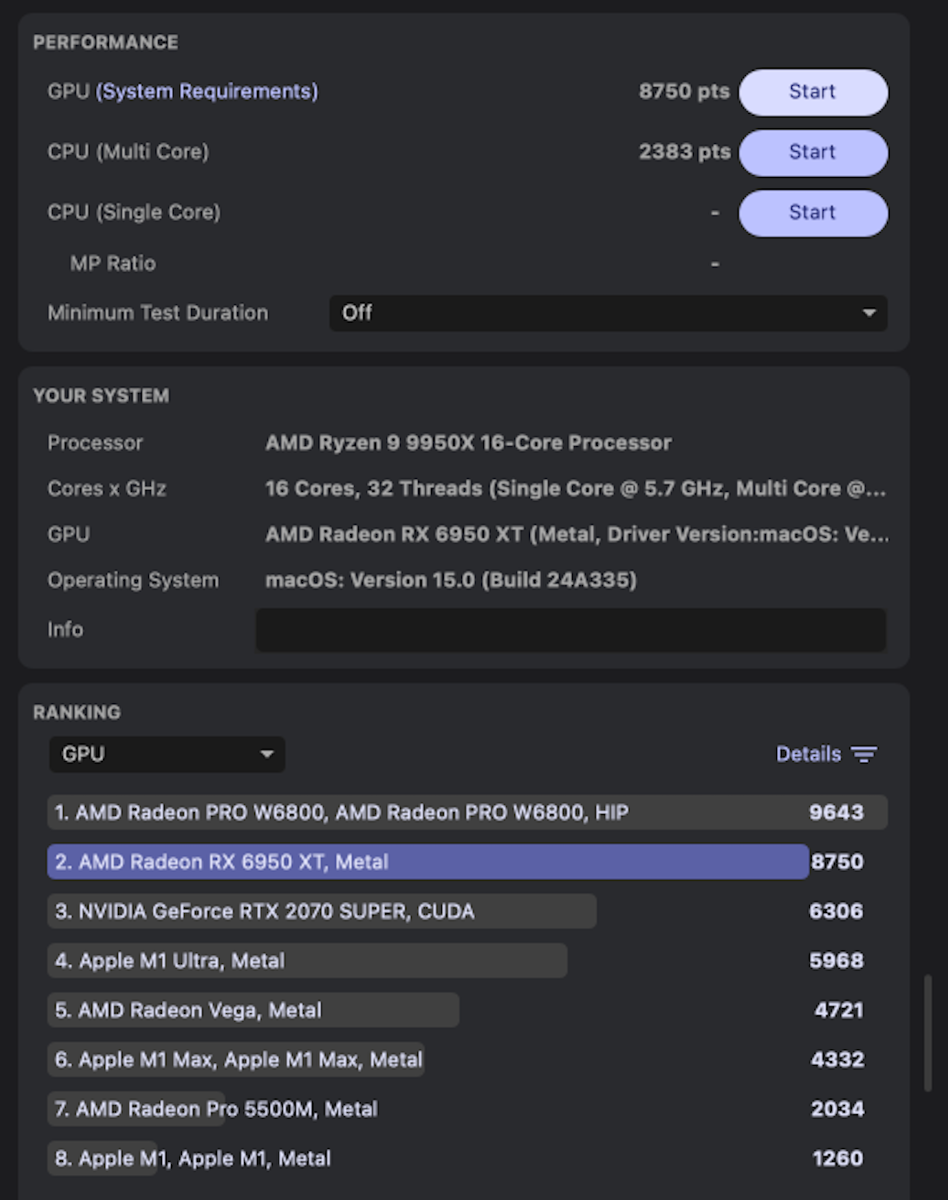
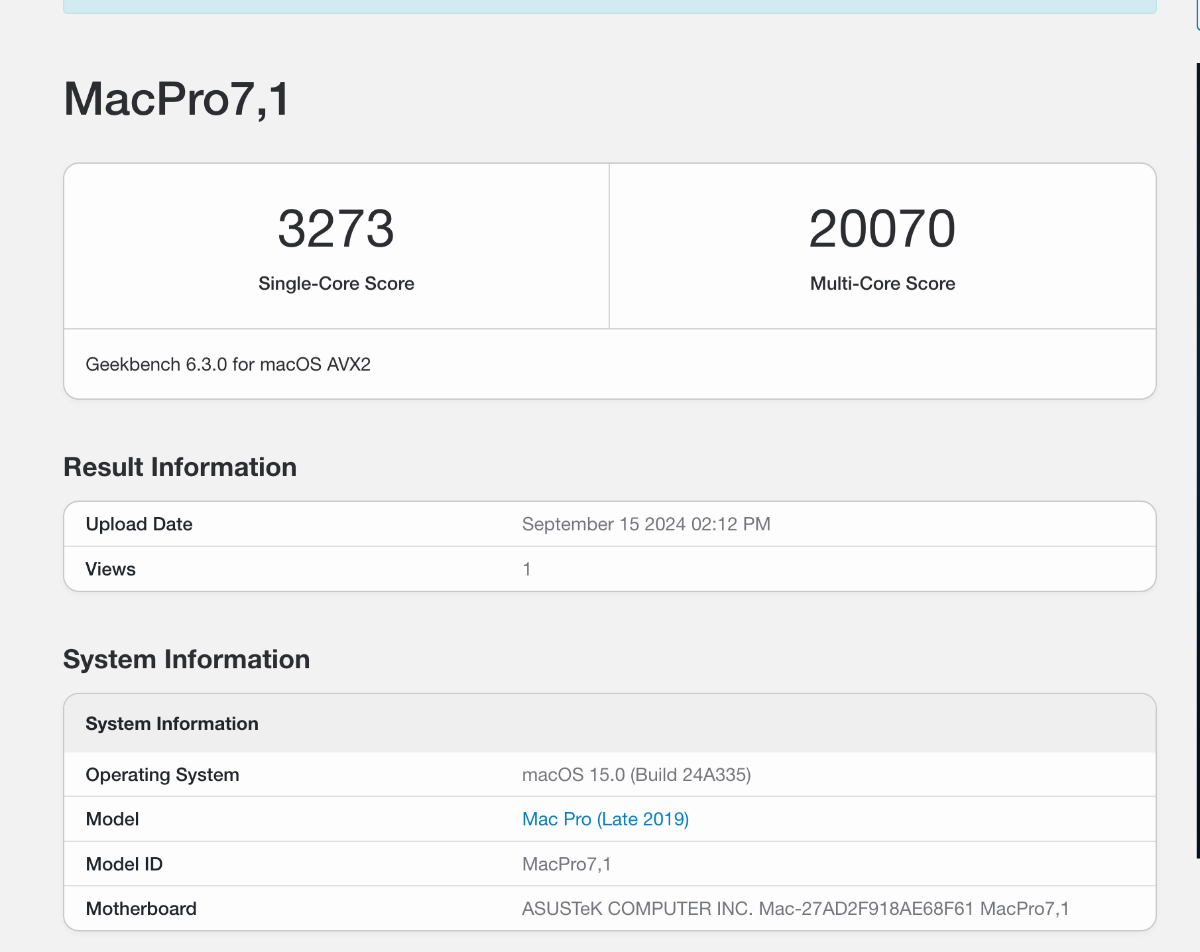
On 9/15/2024 at 5:16 PM, fabiosun said:
2 dimm @6400
below the best results is my system with 4 dimm installed and stock settings (it is difficult to push dimm to higher frequency than 3600, i can push to 4200, but if somethings fails in overclocking test system needs long time to boot well again
Awesome single core results!!!
-
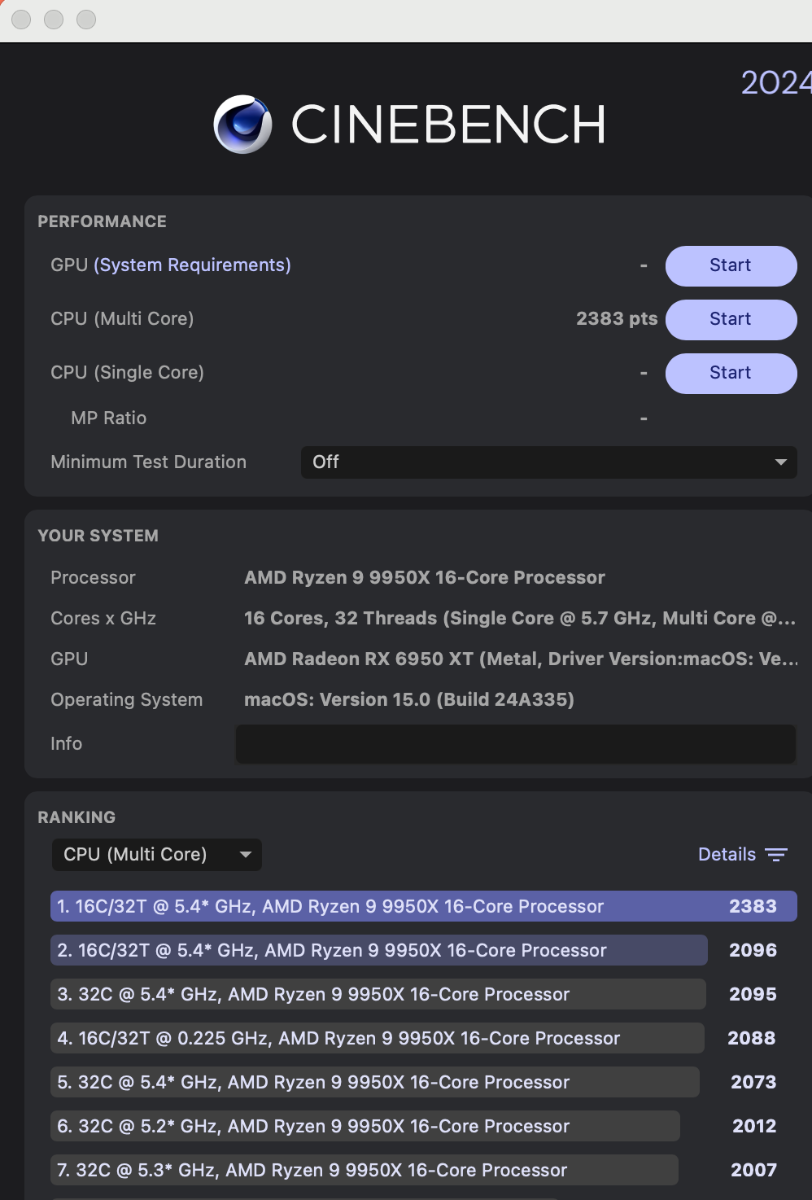
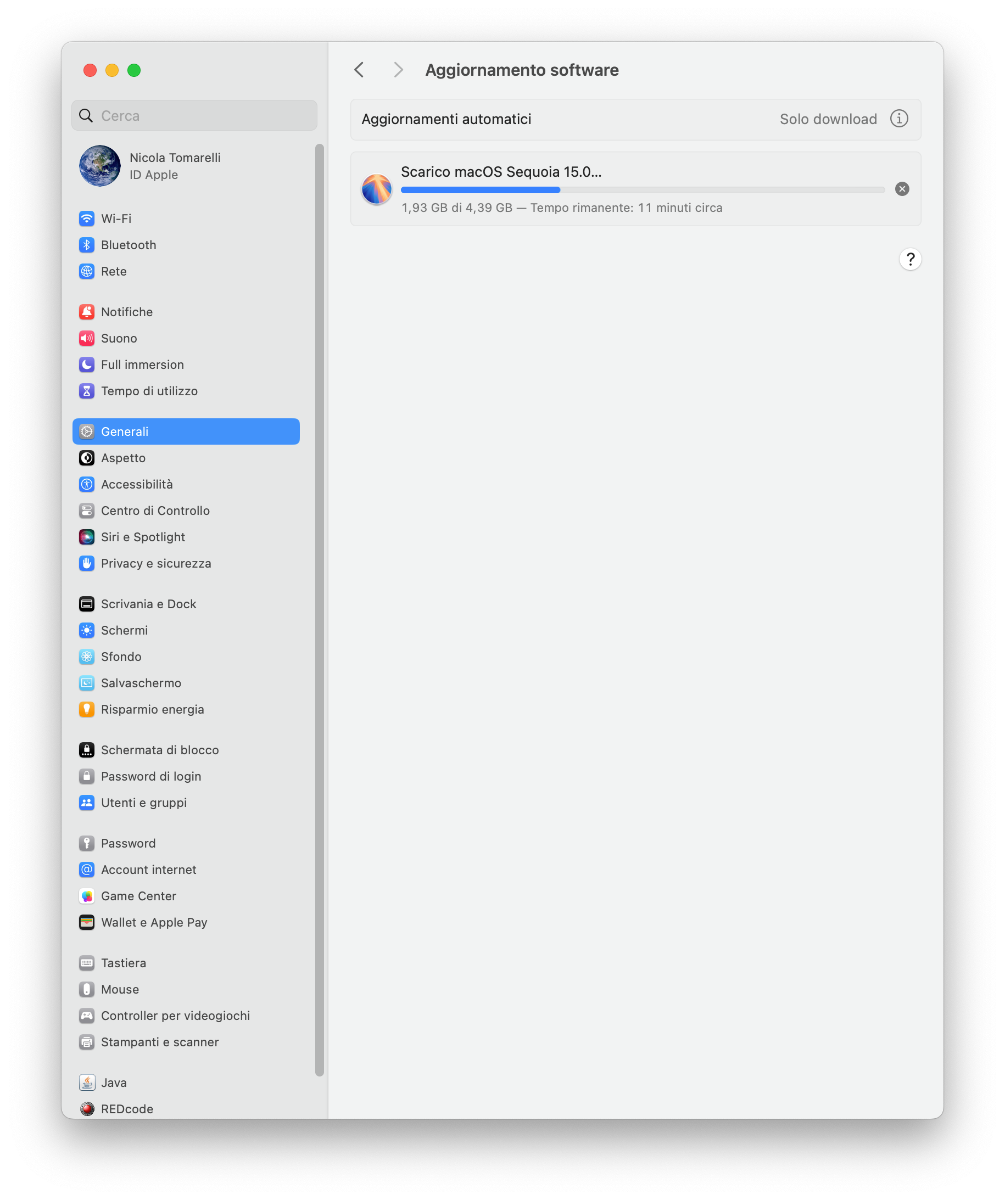
E si procede ad aggiornare l'ammiraglioooooohhhh
-
5
-
-
23 minutes ago, dany said:
Ho provato inizialmente ad aggiornare il kext restrictevents ultimo si Sequoia 15 https://github.com/acidanthera/RestrictEvents/releases...ma stranamente appena dopo il boot si bloccava e non caricava macos, da usb con efi precedente ho fatto il boot e rimesso il vecchio kext restrictevents ( la cosa è strana in quanto è specifico per Seuoia 15).
Poi ho messo il cpuname dopo la virgola ed è tornato Ryzen (attenzione agli spazi...lo dico per i poco esperti come me, mettendo lo spazio dopo la virgola era come se non lo avessi inserito).
Grazie Tomnic👍
Credo debba matchare con Lilu altrimenti non funzia, tieni quest'accoppiata fino a che va 😉
-
1
-
.jpg.600f9f3e939c4a1ad5828d1b93582fc2.jpg)
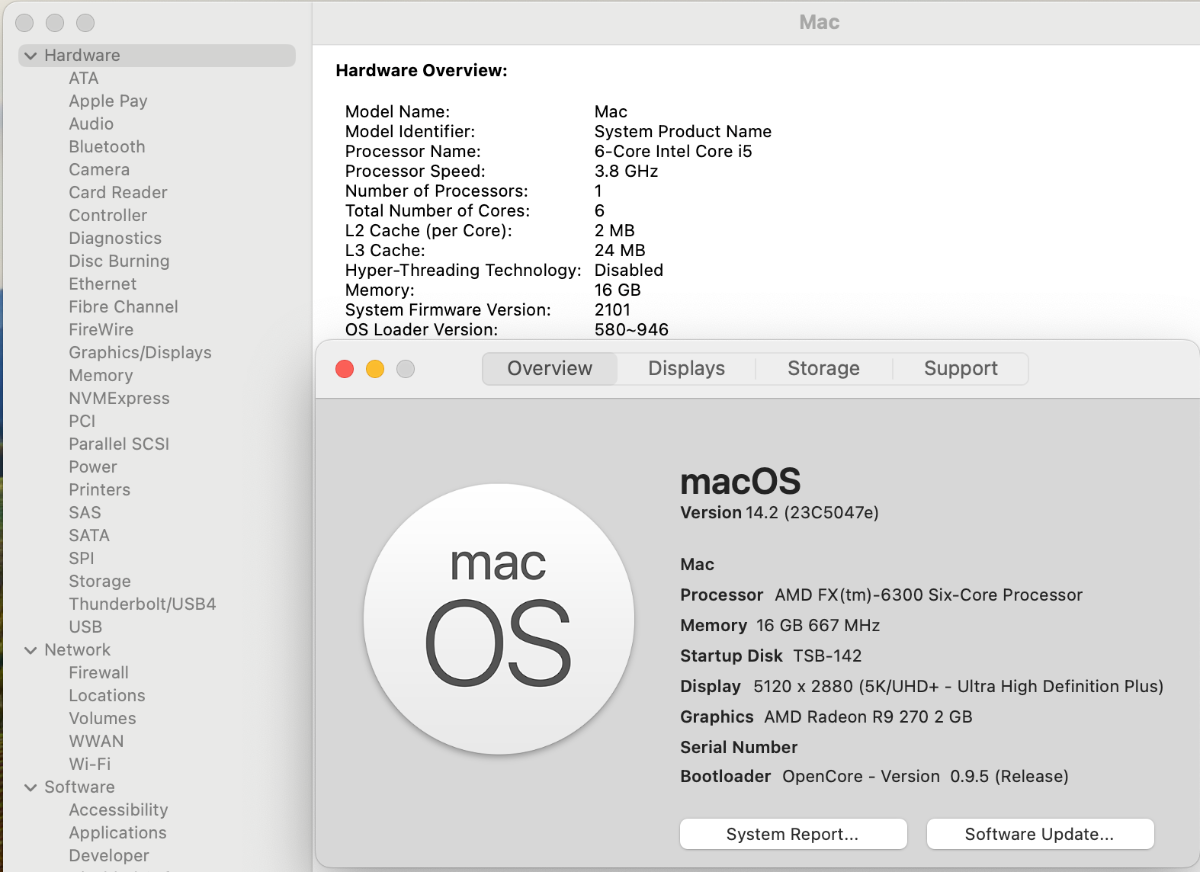
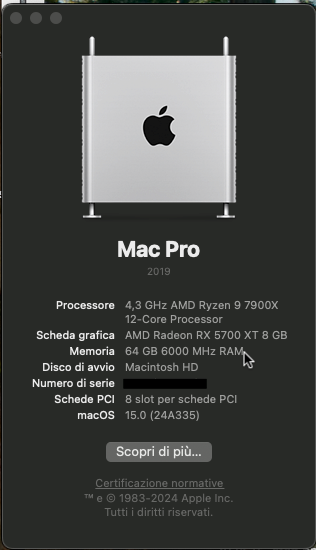
Osx sulla vecchia Asus X58
in Desktop
Posted
Mi puzza di ottimizzazione per AVX del motore grafico di Safari, se abiliti il menù sviluppatore all'interno di Safari puoi provare a disattivare l'accelerazione Metal per la visualizzazione delle pagine, corsi e ricorsi con OCLP e simili su hardware più vecchiotto.